This page contains information on standalone SoapUI Pro that has been superseded by ReadyAPI in the ReadyAPI platform.
To try enhanced data-driven testing functionality, feel free to download a ReadyAPI trial.
In some testing instances you want to test different requests that are stored in text or xml files. This is easy to do in ReadyAPI with data driven testing using a DataSource of type “Directory”.
The step-by-step guide:
1. Create DataSource
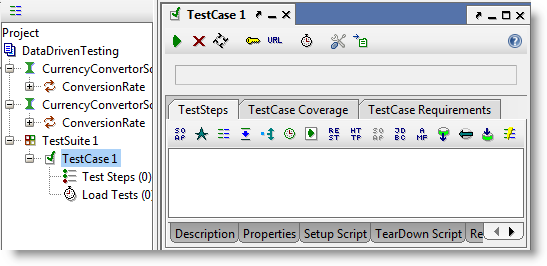
As in the Data Driven Testing guide, create a SoapUI project from the publicly available CurrencyConverter WSDL (http://www.webservicex.com/CurrencyConvertor.asmx?wsdl), then add a TestSuite and a TestCase and open its editor:
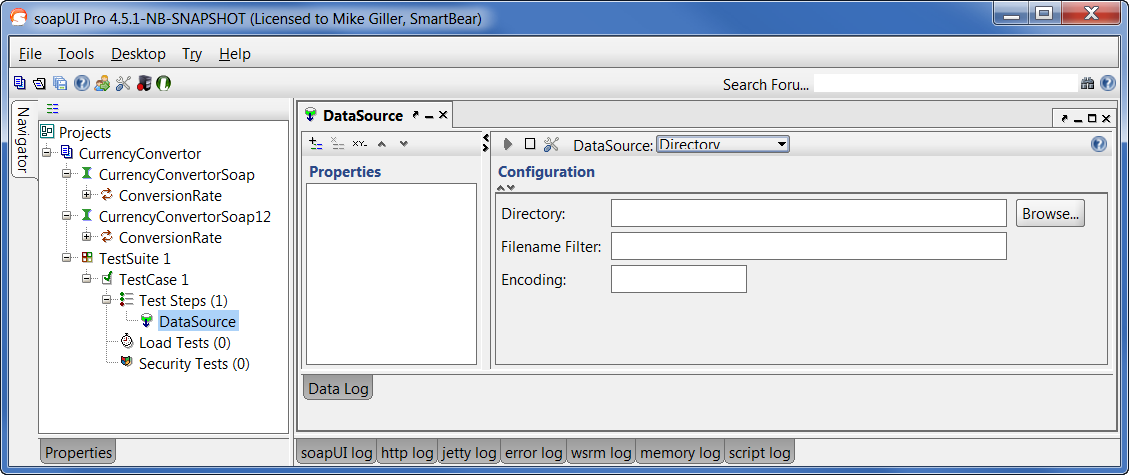
Now add a DataSource TestStep and select the DataSource type “Directory” from the dropdown in the toolbar. You should now have:
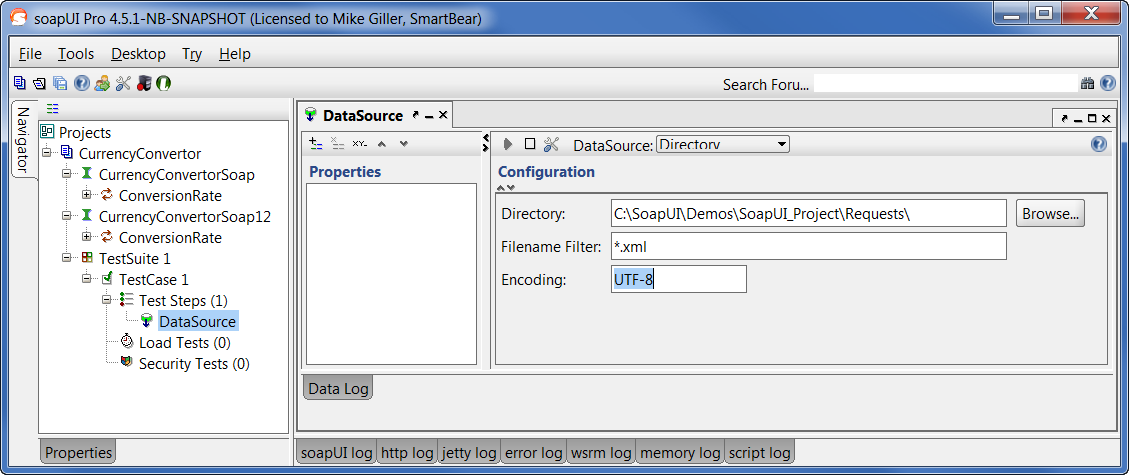
Now, select the directory where your input files are stored, add an applicable filter (e.g. “*.txt” or “*.xml” for text or XML files respectively), and potentially encoding.
Now click on the  icon from the screen below and enter a property that will contain the content of each file
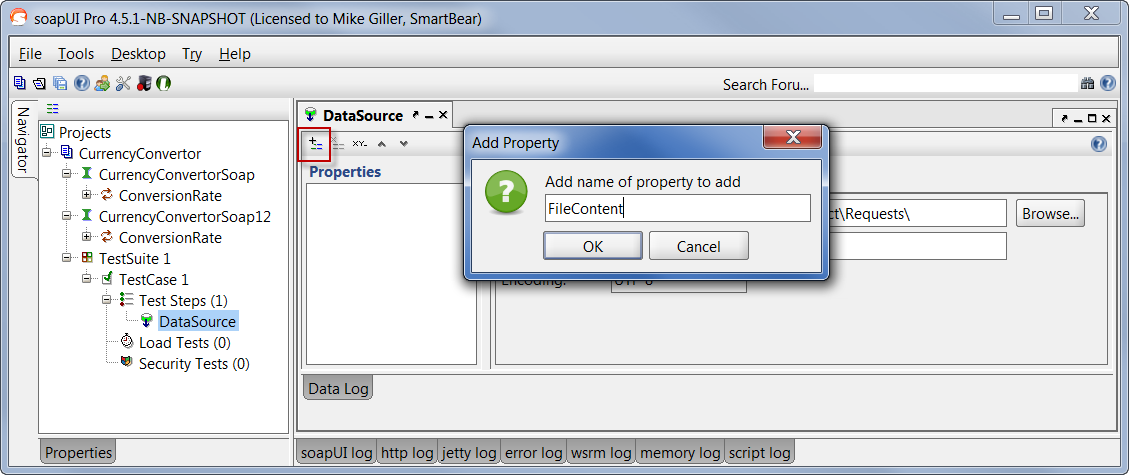
Quick tip: If your property is named “Filename” it will contain the name of the file instead of file’s contents.
2. Create TestSteps
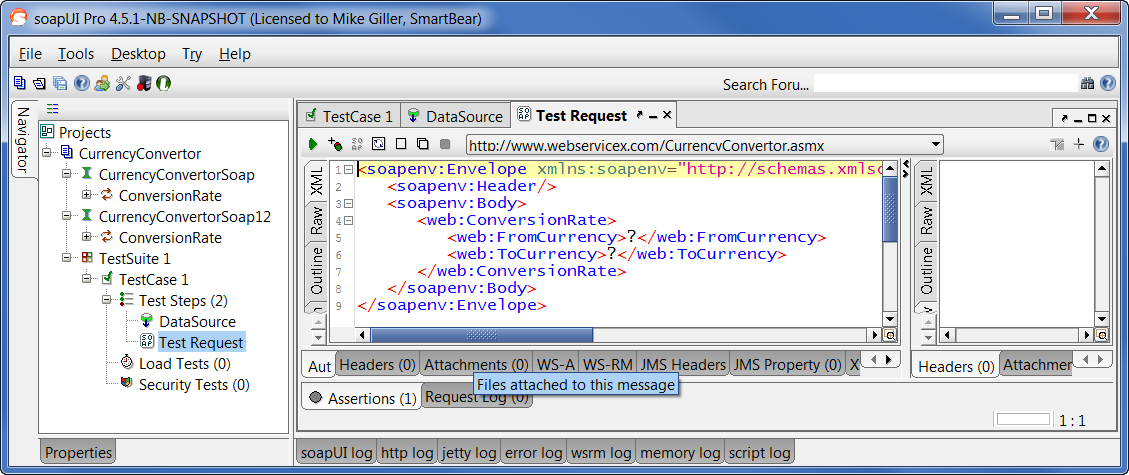
Now you need to add a Test Request to your TestCase which you will use to test the Web Service. Press the SOAP Request button in the TestCase editor and select the ConversionRate operation in the CurrencyConverterSoap Interface.

Press OK in all dialogs. A SOAP Request Step will be added to the TestCase and the editor for the request is opened. Switch to the XML editor (if not already there):
Now, I’m operating under the assumption that you have a fully built request in each of the files in your directory.
An example of an input file would be:
|
<soapenv:Envelope xmlns:soapenv="http://schemas.xmlsoap.org/soap/envelope/" xmlns:web="http://www.webserviceX.NET/">
<soapenv:Header/>
<soapenv:Body>
<web:ConversionRate>
<web:FromCurrency>SEK</web:FromCurrency>
<web:ToCurrency>USD</web:ToCurrency>
</web:ConversionRate>
</soapenv:Body>
</soapenv:Envelope>
|
So, based on that, remove all the content in the XML tab, right-click and select the path to your DataSource property:
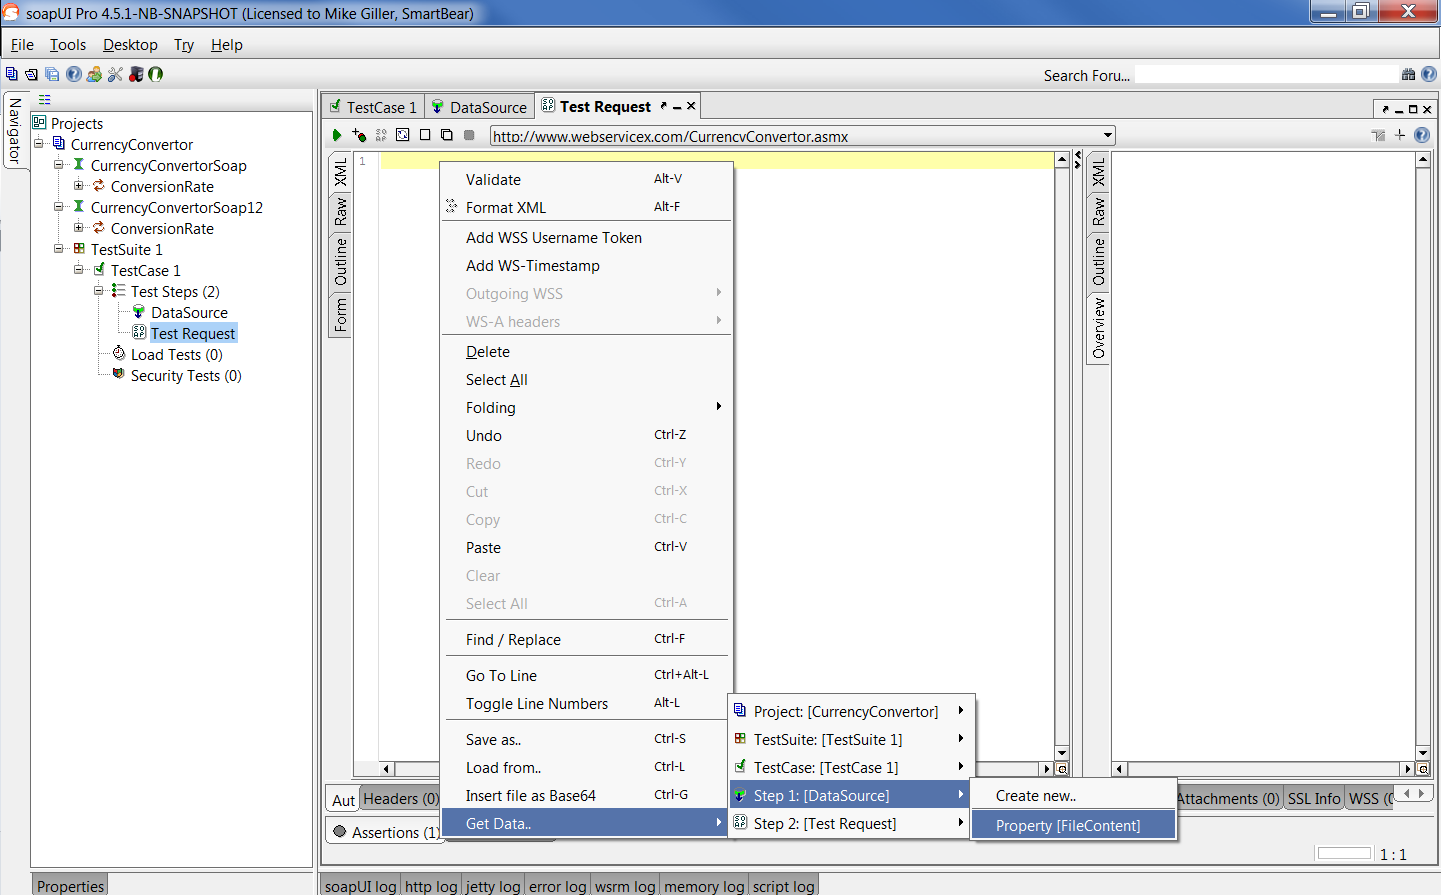
Note: If an XPATH window comes up, just click OK without selecting anything.
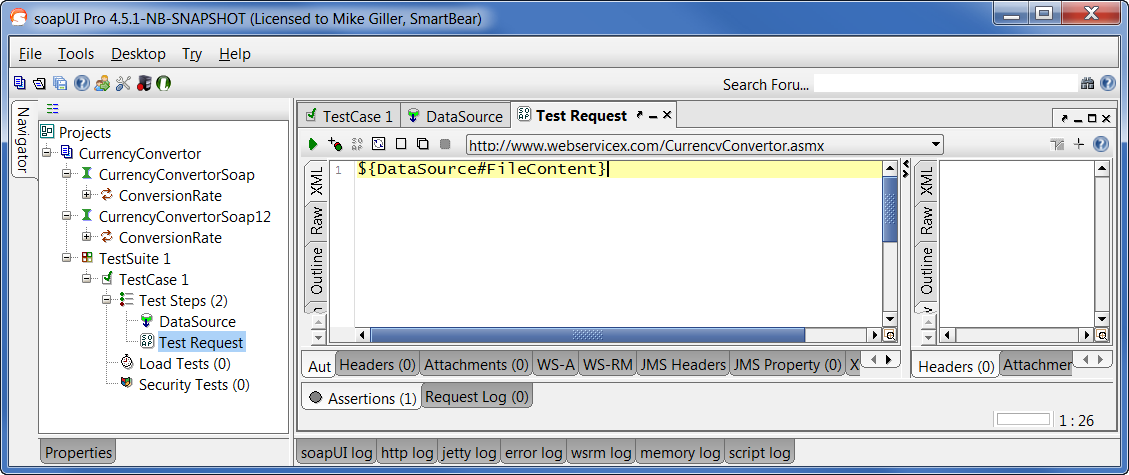
Now your request should look like this:
3. Add DataSource Loop
As a final step, we just need to iterate through all the files in our DataSource. So in your TestCase, add a DataSource loop step, and double click it to configure as in the picture below:
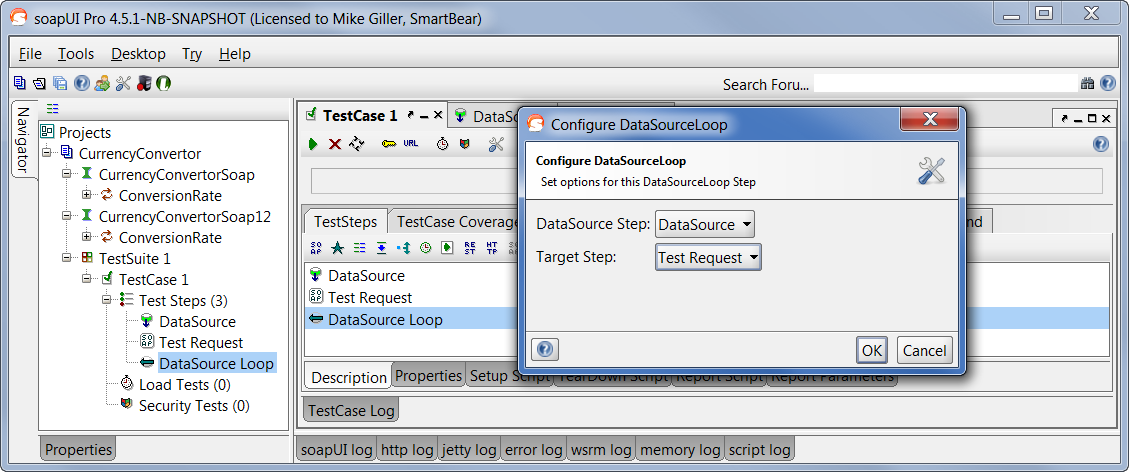
Click OK.
4. That’s it
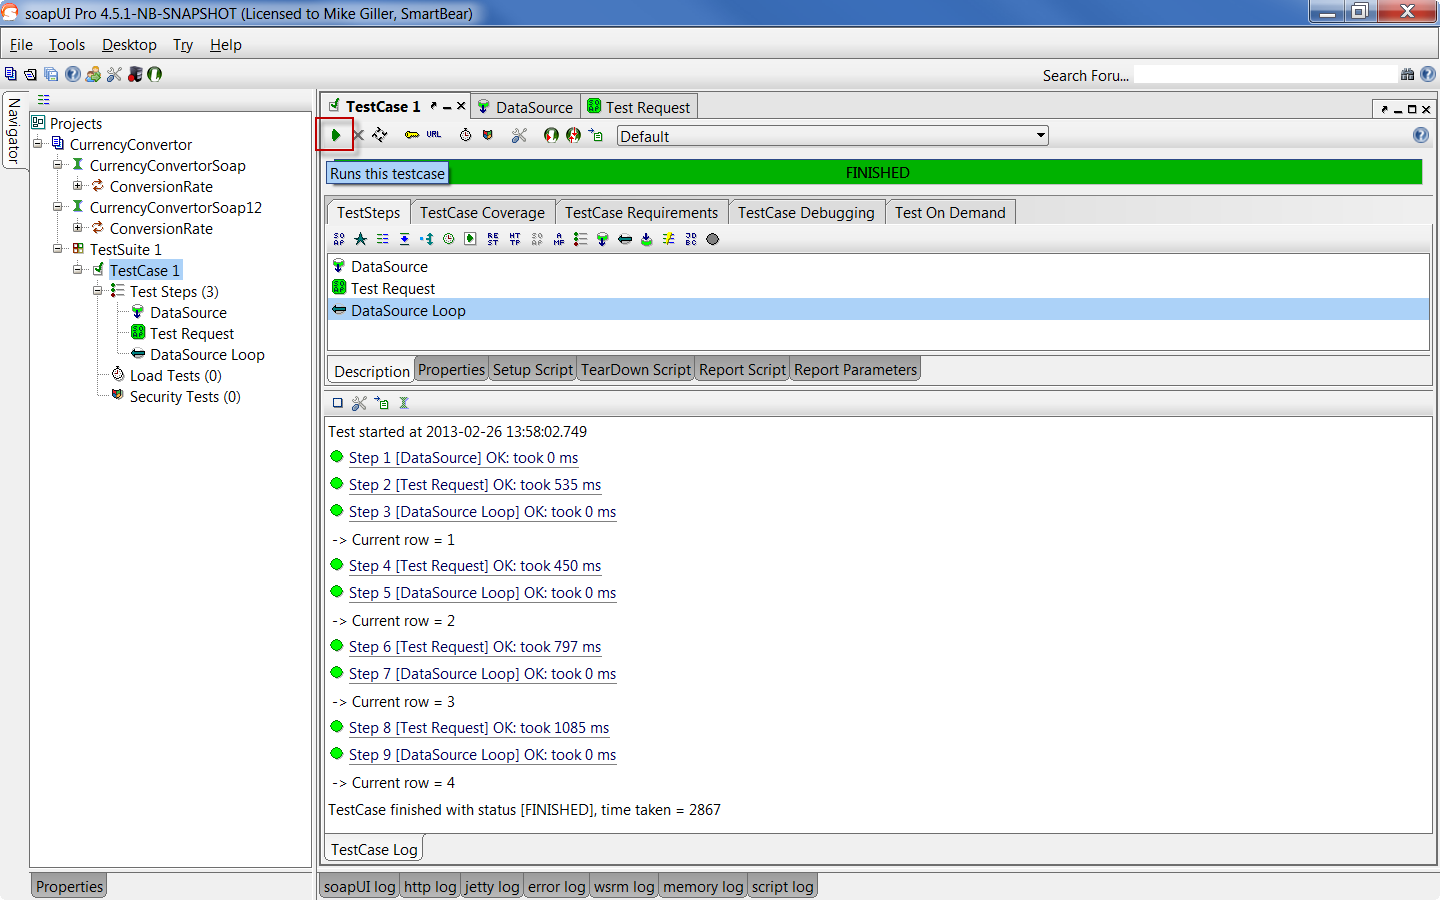
Now if you click on the  icon in the test case window, you can see the whole test run through each file: