Web Service Mocking is a very useful tool in your testing arsenal. It's the solution to the question "How do I create tests for a Web Service when there is no Web Service to write test against?". Web Service Mocking will come in handy here. It allows you to create a simulation or approximation of the Web Service before the actual Web Service goes live. In this tutorial we will:
- Create a project
- Create a MockService
- Edit a MockService
- Invoke a MockService
- Customize a MockResponse
Take Mocking to the Next Level with Simplified Service Virtualization | Try ReadyAPI Free
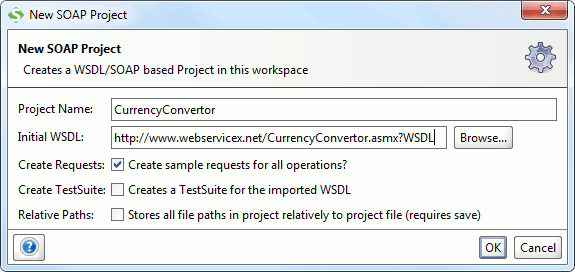
1. Creating a new Project
- Start a new SOAP project using the following WSDL
http://www.webservicex.net/CurrencyConvertor.asmx?WSDL
TIP:
The currencyConverter Web Service is working very hard. If you see the Loading Definition Window running infinitely, the Web Service might be down. To verify if the Web Service is working, copy the URL to the address bar of your favourite browser and test the Web Service. If your browser does not respond, the Web Service is down.
- The CurrencyConvertor project node should be visible in the Navigator.
We're now ready to Create the MockService
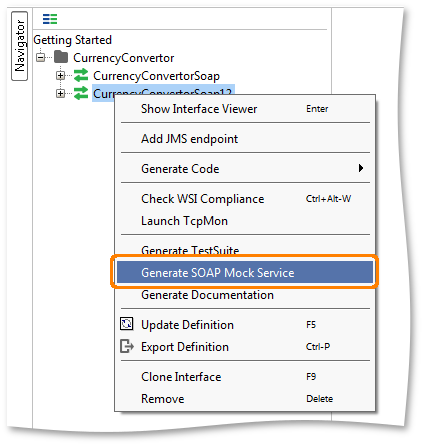
2. Creating a MockService
- Right-click on one of the SOAP interfaces and select Generate MockService.
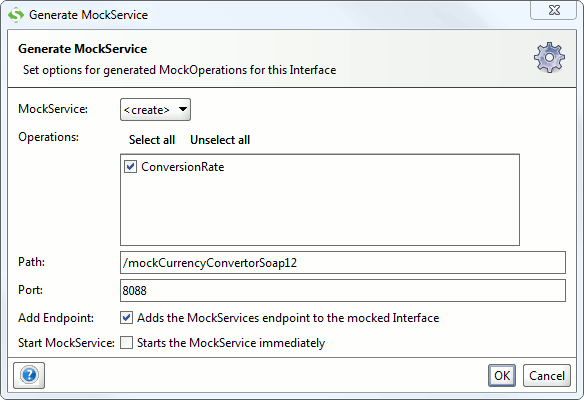
- In the dialog Generate Mock Service you can specify the local port/path for the service you're creating but for the moment just click OK.
- Enter the name of your MockService in the Name dialog and click OK.
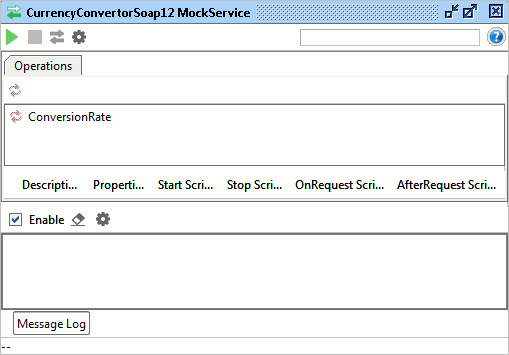
- After creating the MockService, you should get a MockService with one operation and one request.
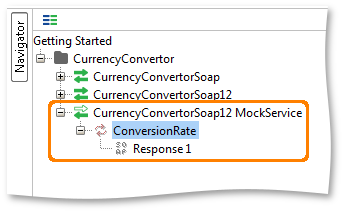
As you can see, the Icons are Grey and incative. This is an indication that the MockService is not yet running. We have succesfully created our first MockService. Let's edit it!
3. Editing a MockService
- Now, double click on the MockService to see the MockService editor. In the editor we can see a list of all operations for the service, as well as a request and response log which logs all incoming requests that have been handled by the MockService.
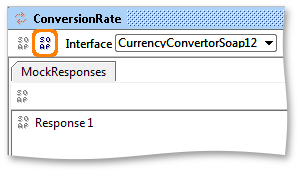
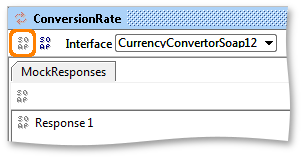
- Double Click on the Conversion Rate Operation to see the MockResponses we have in the MockService:
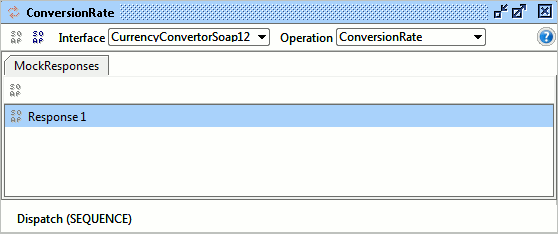
- As you can see we do only have one. Let's edit it. Double click on it to open the Response Editor.
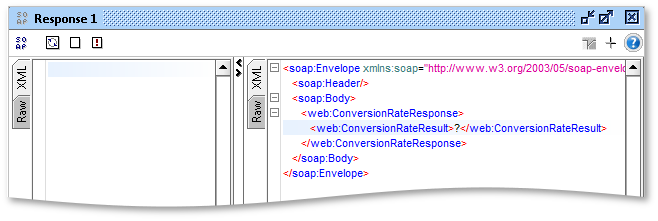
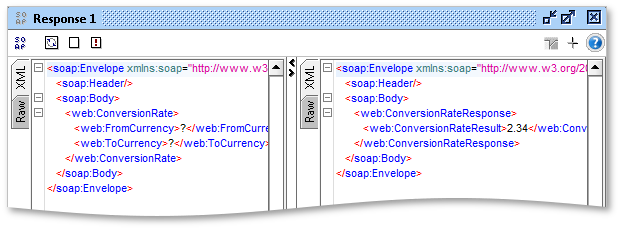
The MockResponse editor is very similar to the standard SoapUI Request editor , but instead of requests, we'll edit responses. The Incoming Request view is still very useful; it shows the last received request to the operation which is useful for debugging client calls, including attachments and HTTP headers.
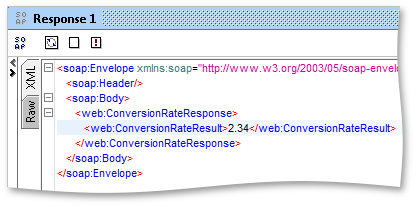
- Edit the ConversionRateResult to be something else than the default empty value "?".
Congratulations, you've just created your first live-like MockService! Let's see if it works.
4. Invoking a MockService
- First we must start the MockService. Click
 in the MockService editor. This will start the service on the configured port and path.
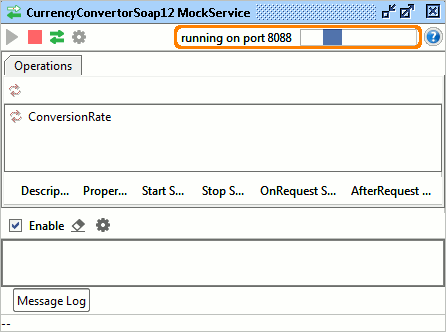
To the Top Right of the Editor you should see that it's running, and the port it's responding on. The play Button is greyed out and if you would like to stop the MockService, just click  .
.
- In the MockResponse editor, Click Create Request.
- This will prompt you to to open one of the existing requests for its operation in your project.
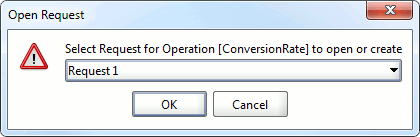
- When you open the request, SoapUI will automatically change its endpoint to the endpoint of the locally running MockService instead of the endpoint that the WSDL is using. Submit the opened request by clicking the Run Button.
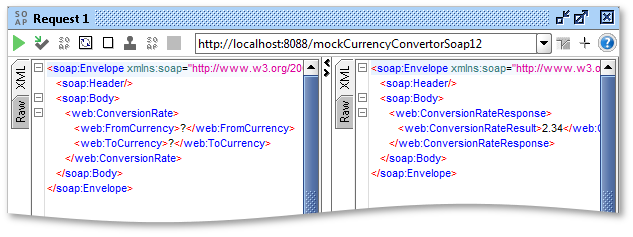
As you can see the MockService returned the values we entered earlier as the response.
- If you switch back to the MockResponse editor and select its Incoming Request view, you should be able to see the request that was posted to the MockService and handled by the MockOperation.
Congratulations! This was your first MockService. Admittedly it was quite simple, so lets make it a bit more sophisticated. But first, feel free to modify the created MockResponse content and re-submit the request to see that your changes are instantly available, there is no need to restart the MockService. Done? Let's move on and finish by customizing the MockResponse.
5. Customizing a MockResponse
Let's continue by making the created MockResponse a bit more dynamic by changing the dispatch and by Groovy scripting.
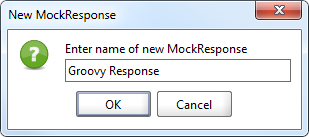
- First we'll create a second MockResponse.
- Give it a name
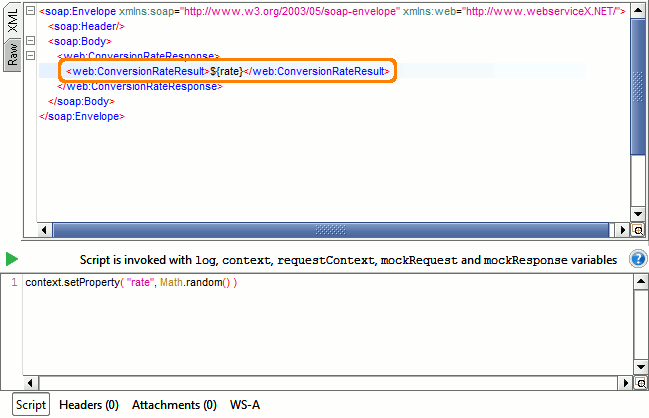
- Let's write a script for the response. Click the Script tab in the Response and enter the following Groovy Script,
context.setProperty( "rate", Math.random() )
It will look like this:
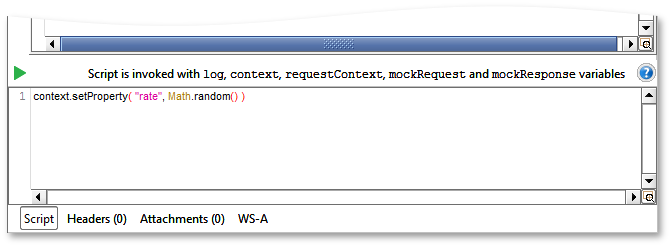
This script sets a property called rate to a random number. As you might have noticed we do not use the property rate anywhere, so let's add it.
- In the ConversionRateResult element enter the following:
${rate}
This is called a Property expansion and it's a very powerful feature in SoapUI. By inserting a property expansion in any element you can then fill the element programatically. Basically it tells SoapUI to use the current value of property rate.
- Now that we have written a script and the results will be inserted into the response, awesome!