soapUI Nature
The soapUI Nature allows integrated access to all soapUI functionality directly from within a Java project.
The following example walks through a "top down" scenario:
Step 1: Enable soapUI Nature
Start by creating an empty Java project and enabling the soapUI Nature from the projects popup menu:
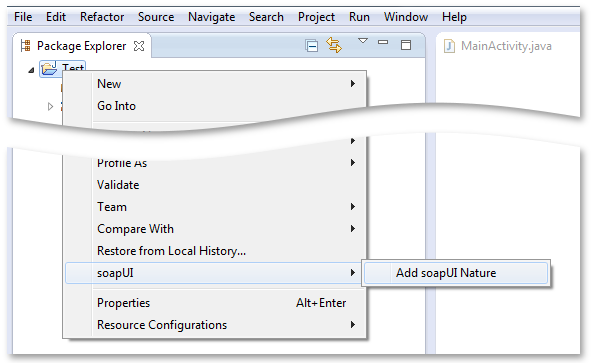
adding a soapUI nature in eclipse
If enabling goes will, you will see a "SoapUI Web Services" node in the project:
a SoapUI project node in eclipse
When shown in the Eclipse Project Explorer View, this node behaves like a standard SoapUI project node. Its right-click menu includes a "soapUI" menu with available project actions:
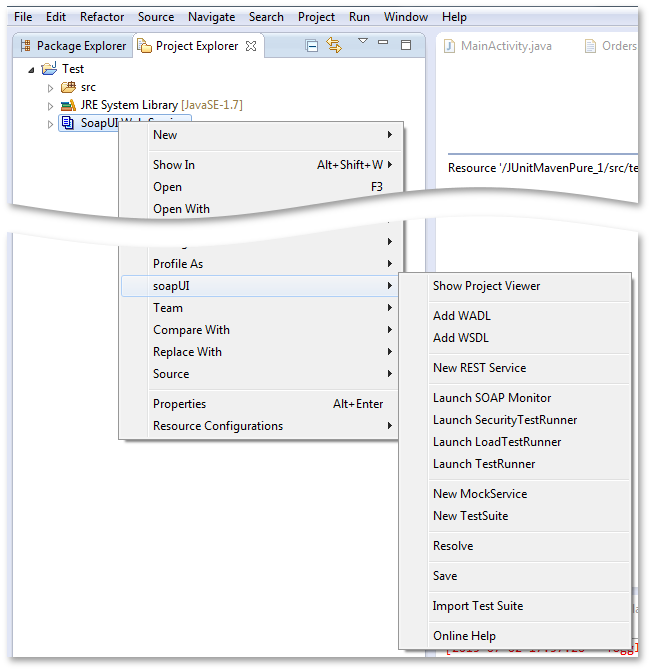
a soapUI context senistive menu in eclipse
Step 2: Create or Import a WSDL or WADL
You can either manually create a WSDL or WADL in your project (using for example the formidable Web Tools Project WSDL Editor) or just import one into your project using one of the standard "Add WSDL" or "Add WADL" actions.
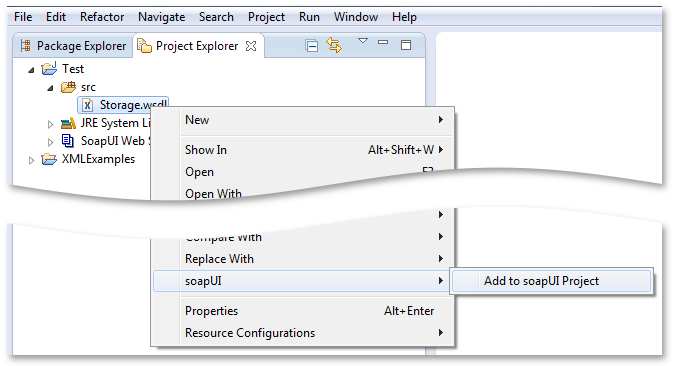
When creating the WSDL or WADL in your project, right-click on the file and select "soapUI -> Add to SoapUI project"
Add to SoapUI project
Once imported, the WSDL or WADL is shown as a "standard" soapUI Interface node under the "soapUI Web Services" node:
WSDL shown in the soapUI eclipse plug in
Step 3: Generate Code

Now its time to generate some code... select the "Generate -> Axis 1.X Artifacts" menu option from the Interface nodes popup menu which will show the below dialog
code generation context sensitive menu in soapUI
Select the desired options and set the output folder to a Java source folder in your project..
Setting options for code generation from WSDL
Select the "Generate" button which will invoke Axis (as configured under "Preferences -> soapUI -> Integrated Tools") and show the output in the console window:
Code Generation log in the soapUI eclipse plug in
The generated classes are now visible under the Java source node (refresh first!)

Generated classes from WSDL
(The classes are marked red above since the axis-libraries are not in the projects classpath. These will be added automatically by soapUI in a future version)
Step 4: Implement, Deploy and Test your Web Services
After implementing and deploying your Web Service to the desired container, you can now start sending web service requests "as usual"... good luck!