In this guide you will learn how to add WS-Security (WSS) to your tests in SoapUI using keystores and truststores (cryptos).
For enhanced security scanning capabilities, including the OWASP top 10 security vulnerabilities, and to ensure your APIs handle SQL injection attacks, try ReadyAPI for free.
Prerequisites
Please observe that this document will not explain WS-Security and its related standards themselves.
Introduction
SoapUI manages WS-Security related configurations at the project level, allowing these configurations to be used at several places within a project:
- For outgoing requests and their responses.
- For incoming requests to MockServices and their MockResponses.
- For monitored requests and their monitored responses in the SOAP Monitor.
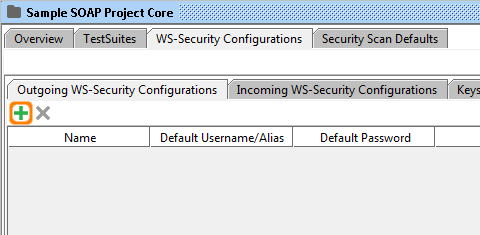
If you click on the WS-Security Configurations tab on the project level you'll find four sub tabs:
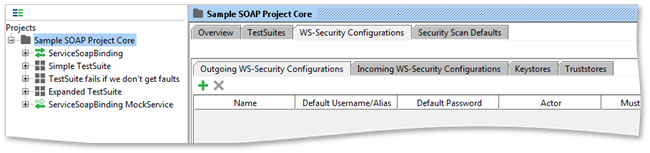
- Outgoing WS-Security Configurations: configurations that should be applied to outgoing messages, including requests and MockResponses. This configuration type is used for encryption, signing and adding SAML, timestamp and username headers.
- Incoming WS-Security Configurations: configurations that should be applied to incoming messages, including responses, MockRequests or monitored requests and responses. This configuration type is used for decrypting and verifying the signature of incoming messages.
- Keystores: keystores used for encryption, decryption and signing.
- Truststores: truststores used for signature verification.
1. Getting Started
This guide will explain the basic steps for encrypting a soap request in SoapUI.
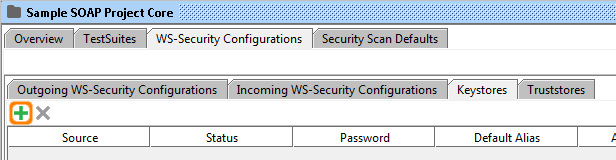
- Add a keystore by clicking the add button and browsing to your keystore file.
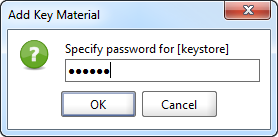
2. Enter the password for the keystore.
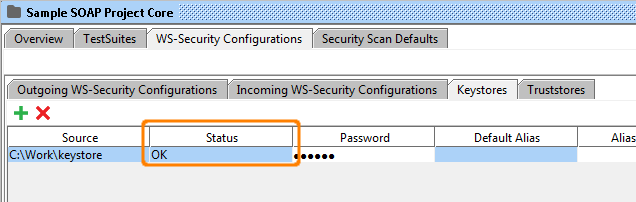
3. Make sure that the Status is OK. If not, check your password and Status for errors.
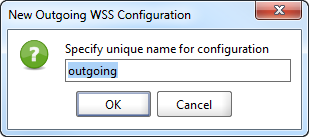
4. Create a new outgoing configuration by clicking on the add button.
5. Name the outgoing configuration.
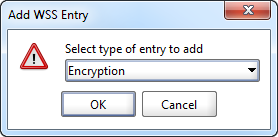
6. Now create a new Outgoing configurations entry by clicking on the lower add button.

7. Add an Encryption entry.
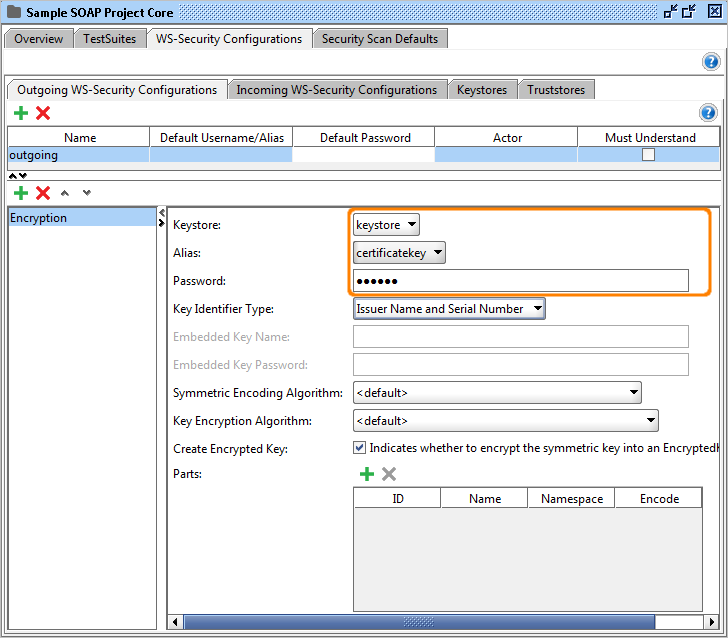
8. Select the keystore and key alias (key) that you want to use along with the password for that alias.
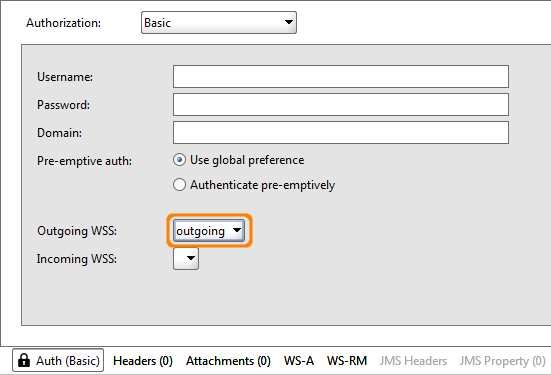
9. Open the SOAP request that you want to apply the encryption to and click the Aut tab in the bottom corner and select the outgoing configuration.
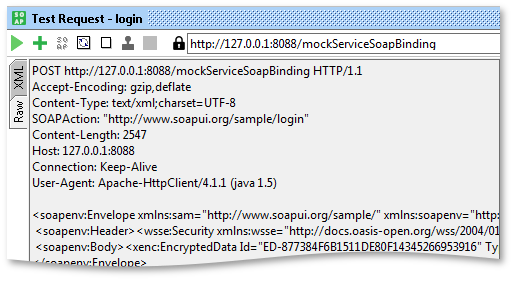
10. Finally execute the SOAP request and click the Raw tab to verify that the encryption is added to the outgoing request.
2. Keystores and Truststores
The Keystores and Truststores tabs allow you to add an arbitrary number of keystores and truststores to your WS-Security configurations.
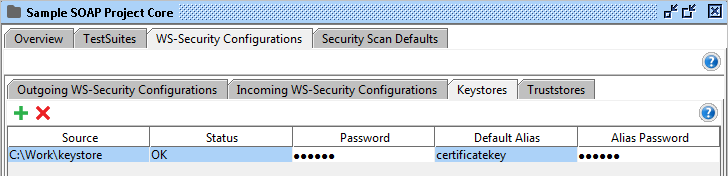
Add a new keystore or truststore by selecting the Add button in the toolbar, browsing to the corresponding file and pressing ok. You will be prompted for the password to the file and it will be added to the list, the Status column will display if loading went ok.
The following columns are available in the Keystores and Truststores table:
- Source: the source file of the keystore / truststore.
- Status: the load status of the keystore / truststore.
- Password: the keystore password.
- Default Alias: the default alias (key) to be selected when using the keystore / truststore.
- Default Password: the password for default alias.
SoapUI Open Source
- Basic security testing (SQL Injection, Boundary Scans, and more).
- Security test generator.
- Security test results history and comparison.
ReadyAPI
- Basic security testing (SQL Injection, Boundary Scans, and more).
- Security test generator.
- Security test results history and comparison.
3. Outgoing WS-Security configurations
Outgoing WSS configurations are used for processing outgoing messages, like adding encryption, signature, etc. Each configuration contains an arbitrary number of entries, each corresponding to some WSS related action to be taken on the outgoing message.
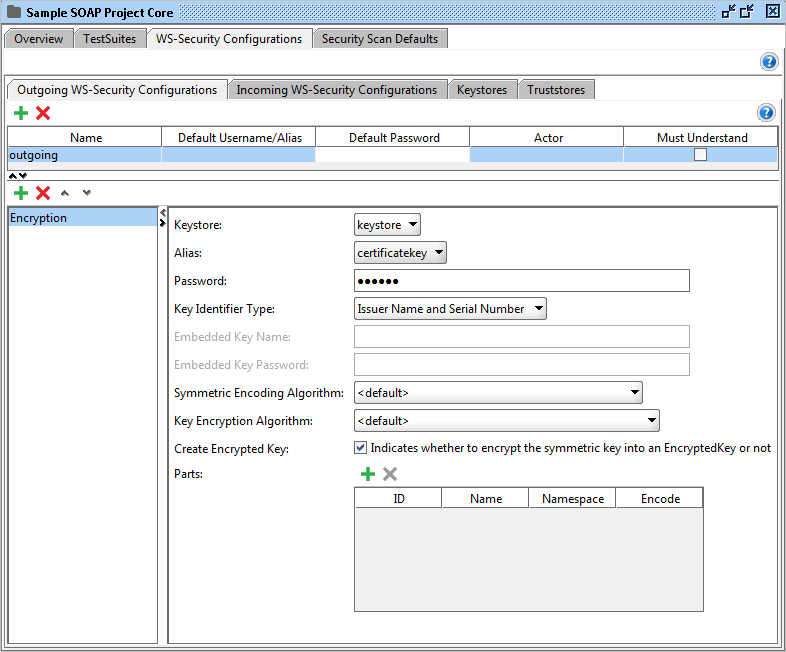
The table on the top contains the currently configured configurations. Use the Add button in the tables toolbar to add a new configuration. This will prompt for a unique name for the configuration.
The following columns are available in the Outgoing WS-Security Configurations table:
- Name: a unique name for the configuration.
- Default Username/Alias: The default username / alias to be used in entries.
- Default Password: the default password for the username / alias.
- Actor: the actor name.
- Must Understand: marks the header as must understand.
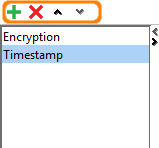
When selecting a configuration in the table, the lower half of the panel will display a list of applied entries for the selected outgoing configuration, in our case an Encryption and a Timestamp entry. The entries are applied to the outgoing message from top to bottom in the list. It's also possible to reorder or remove entries by using the toolbar buttons.
3.1. Entries
These are the possible entries for the Outgoing WS-Security configurations.
Encryption
Encrypts outgoing messages.
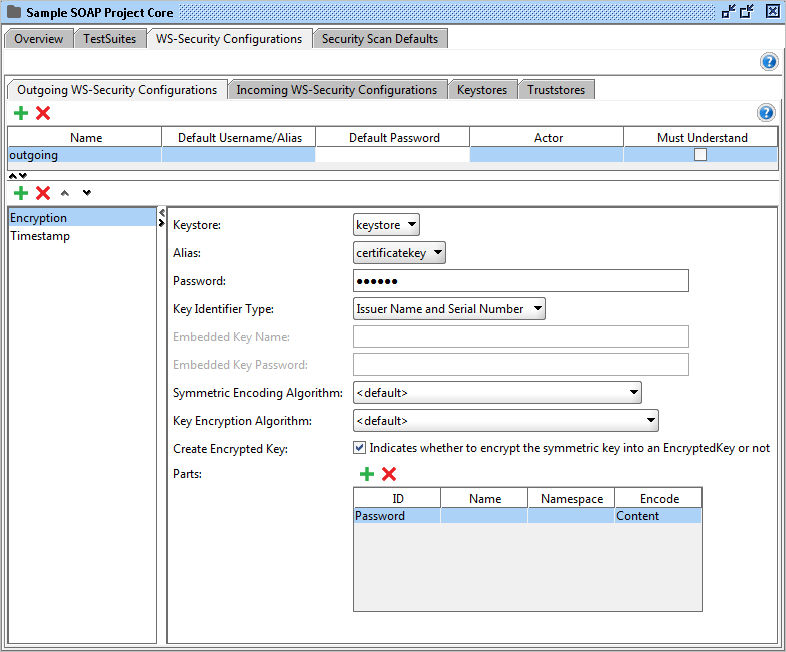
These are the configurable fields:
- Keystore: The keystore to use when encrypting the message.
- Alias: The alias (key) to use when encrypting the message.
- Password: The password for the alias.
- Key Identifier Type: The type of key.
- Embedded Key Name / Embedded Key Password: If the key identifier type is Embedded KeyInfo then these fields are used to specify the name and password of the embedded key.
- Symmetric Encryption Algorithms / Key Encryption Algorithm: The algorithms to use. If you're not sure which to choose, leave the preselected item as default.
- Create Encrypted Key: If checked this will encrypt the symmetric key into an EncryptedKey.
- Parts: By using this table, you are able to encrypt only certain parts of the outgoing message. If this is not checked the whole message will be encrypted.
- ID: The identifier of the XML element to encrypt.
- Name: The name of the XML element to encrypt.
- Namespace: The namespace of the XML element to encrypt.
- Encode: Use Content for encrypting the inner parts of the element and Element to encrypt the whole element.
Observe! This cell is required when using the Parts table.
Signature
Signs the outgoing message.
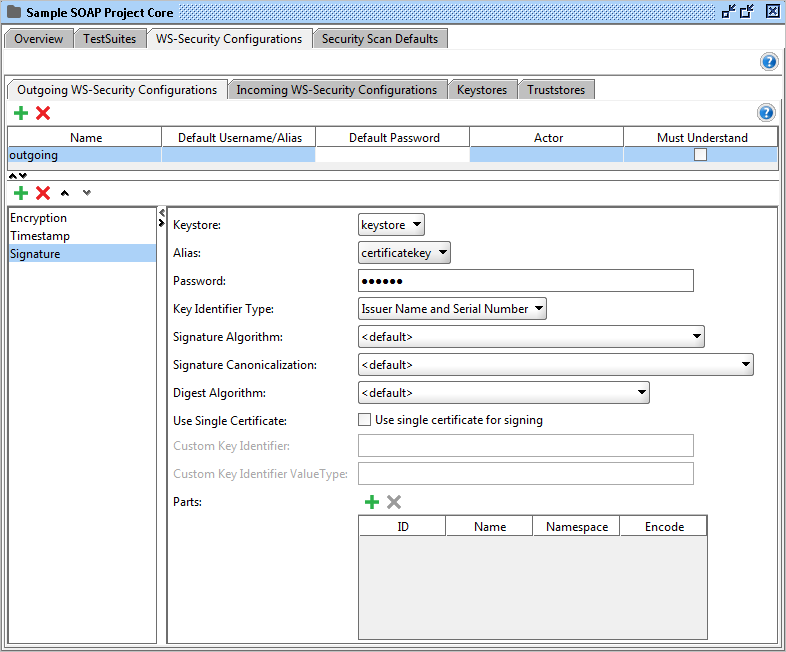
These are the configurable fields:
- Keystore: The keystore to use when signing the message.
- Alias: The alias (key) to use when signing the message.
- Password: The password for the alias.
- Key Identifier Type: The type of key.
- Signature Algorithm / Signature Canonicalization / Digest Algorithm: The algorithms to use. If you're not sure which to choose, leave this as default.
- Use Single Certificate: If checked, a single certificate will be used.
- Parts: By using this table, you are able to sign only certain parts of the outgoing message. If this is not checked the whole message will be sign.
- ID: The identifier of the XML element to sign.
- Name: The name of the XML element to sign.
- Namespace: The namespace of the XML element to sign.
- Encode: Enter "Content" for signing the inner parts of the element and Element to sign the whole element.
Observe! This cell is required when using the Parts table.
Username
Add a Username token to the outgoing message.
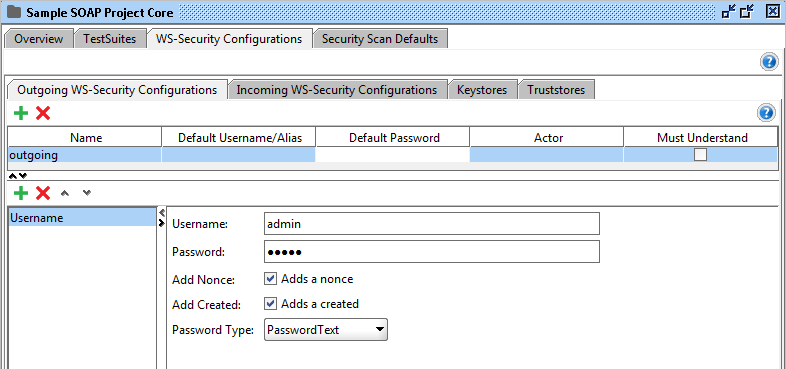
These are the configurable fields:
- Username: The username.
- Password: The password.
- Add Nonce: Adds a nonce (recommended).
- Add Created: Adds a created element (recommended).
- Password Type: This specifies how the password should be serialized. The PasswordDigestExt option is non-standard and should only be used for interop issues where the message receiver desires an extra SHA-1 Hash of the password.
Timestamp
Adds a timestamp entry.
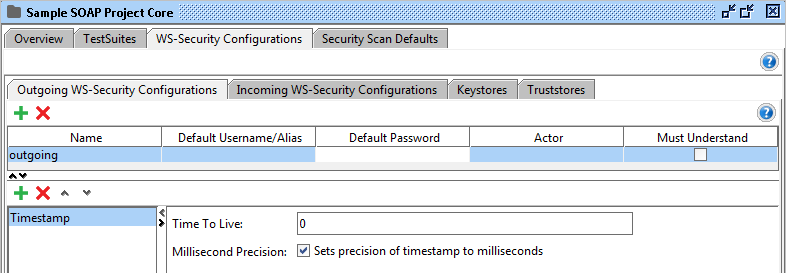
These are the configurable fields:
- Time To Live: How long the message is valid. The default unit is seconds.
- Millisecond Precision: If checked the unit will be milliseconds instead of seconds.
SAML (Form)
Adds SAML assertion.
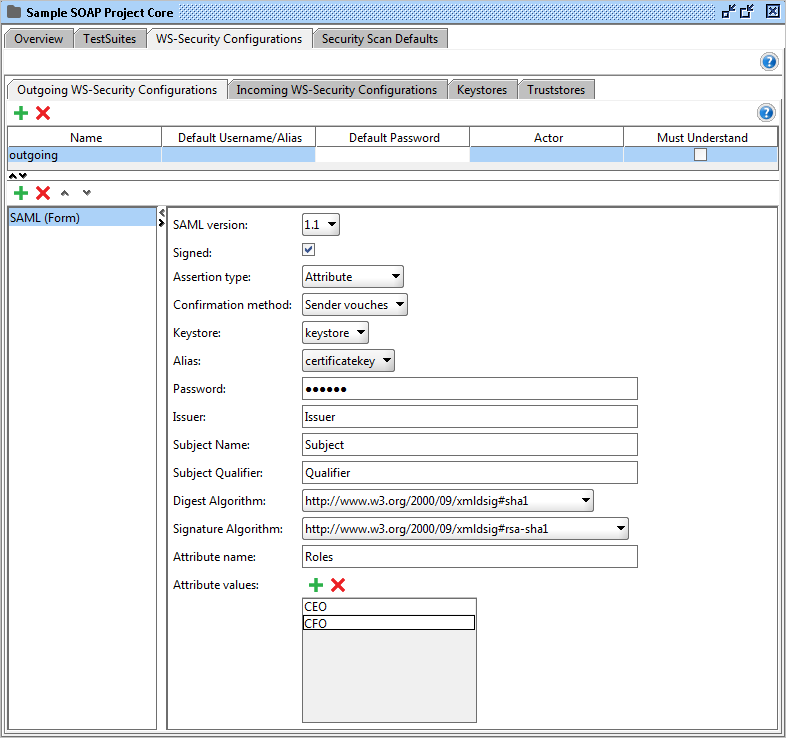
These are the configurable fields:
- SAML version: The SAML standard version.
- Signed: Check this if you want to sign your assertion.
- Assertion type: The type of assertion.
- Keystore: The keystore to be used when signing.
- Password: The password used by the keystore.
- Issuer: The issuer.
- Subject name: The subject name.
- Subject Qualifier: The subject qualifier.
- Digest Algorithm / Signature Algorithm: The algorithms to use.
- Attribute name: If the assertion type is Attribute, you can use this field to specify the attribute name.
- Attribute values: A list of values that belongs to the attribute name specified above.
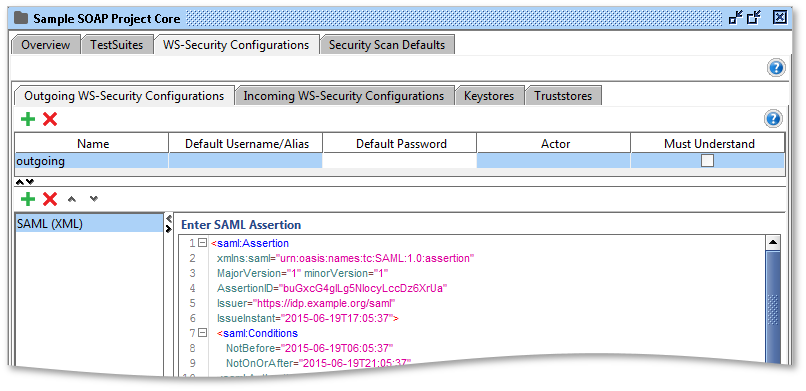
SAML (XML)
If you want to add a SAML assertion that's not possible to generate using the SAML (Form) entry, or if you want to enter the assertion yourself, you can use the SAML (XML) entry. Here you are able to enter your SAML assertion directly. The assertion will be validated and then applied to the WSS header. You can enter both SAML 1 and SAML 2 assertions.
3.2. Add outgoing configuration explicitly
As an alternative to using the Auth tab you can right click in a XML view of a request and select the Outgoing WSS menu item. This will try to generate and add the outgoing WSS to the current XML.
4. Incoming WSS
Incoming WSS configurations are used to process incoming messages like decrypting and validating signatures of the incoming messages. Since the WS-Security headers of an incoming message contain most of the information required to decrypt or validate a message, the only configuration needed by SoapUI is which keystore or truststore that should be used.
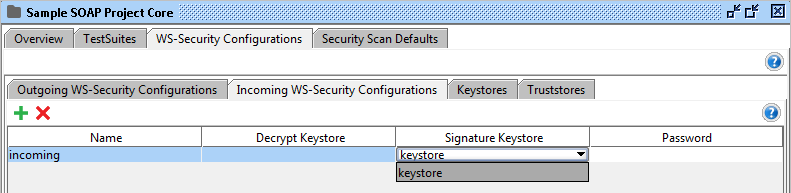
The following columns are available in the Incoming WS-Security Configurations table:
- Name: A unique name for the configuration.
- Decrypt Keystore: The crypto used for decryption.
- Signature Keystore: The crypto used for signature verification.
- Password: The password for the crypto.
When receiving a message with an associated Incoming WSS configuration in one of the request/MockResponses editors, the results of the processing will be shown down in the "WSS" Inspector for the corresponding message. The inspector shows a list of processing results and any errors that may have occurred:
5. Assertions
For testing, there is also a WS-Security Status Assertion that can be added to a TestRequest step for validating that the WS-Security headers were valid in the received response.
No one knows APIs better than SmartBear. Find out what our Pro version of SoapUI can do to improve your testing.