NOTE: Add as MockResponse Step is only available in standalone SoapUI Pro that has been replaced with ReadyAPI. Feel free to download a ReadyAPI trial from our website.
Request Interface
Editor Toolbar
The editor toolbar (see  of figure above ) has the following actions:
 Submit - submits the request to the specified endpoint.
 Add to TestCase - prompts to add the request to a TestCase, same as the request-menu action described above.
 Add as MockResponse Step (ReadyAPI only) - prompts to create a MockResponse Step this request in an existing or new TestCase as described above.
Add to MockService - prompts to add the requests operation to a MockService, same as the request-menu action described above.
 Recreate Request - prompts to recreate the request xml from the operations input message definition. Also prompts if any values in the current request should be kept in the recreated request.
 Create Empty - prompts to create an empty soap-request with no soap-body.
 Clone Request - prompts to clone the request, same as the request-action described above. You will be prompted for a name for the new request and the new request will be placed after the cloned request.
 Cancel Request - cancels an ongoing request (disabled if no request is running).
Endpoint Drop-down list - a drop-down list with the endpoints available for this request operations' interface. The combo box also contains the following options (as shown in the image):
- [edit current...] option for changing the current new endpoint directly.
- [add new endpoint...] option for adding a new endpoint directly.
- [delete current...] option for deleting the current endpoint directly.
w2
Editor Layouts
The editor layout ( see  of figure above) can be customized. See below for explanation:
 Tab Layout - toggles between the tab and split request editor layouts as described below.
 Editor Orientation - changes the orientation of the request/response editors between left/right and top/bottom.
 Online Help - Displays this page in an external browser.
The editor is available in 2 layout modes which can be toggled with the "Tab Layout" toolbar button (top right):
Split Layout (default, shown above) - the editor is divided into a left request-area and a right response-area, submitting the requests posts it to its endpoint and displays the result in the right area. When moving focus to one of the editors, the dividing split pane will automatically be moved to give the focused editor a larger visible area, diminishing the requirement to resize the split pane manually when working with request/response messages. This behavior will be disabled when manually dragging the split-pane to a desired position and re-enabled when changing the split pane orientation or when closing/re-opening the request-editor for the current request. It can also be turned off completely using the designated option in the UI Settings.
Tabbed Layout - the editor displays the request or response areas in separate tabs available at the top of the editor window. Submitting a request automatically selects the response tab after the response has been received.
The Request Editor
The request editor is opened by either double-clicking a request in the navigator or by selecting its Open Request Editor popup menu item, and displays the current request and response messages together with a toolbar and a number of detail tabs as shown below in a configurable Editor Layout.
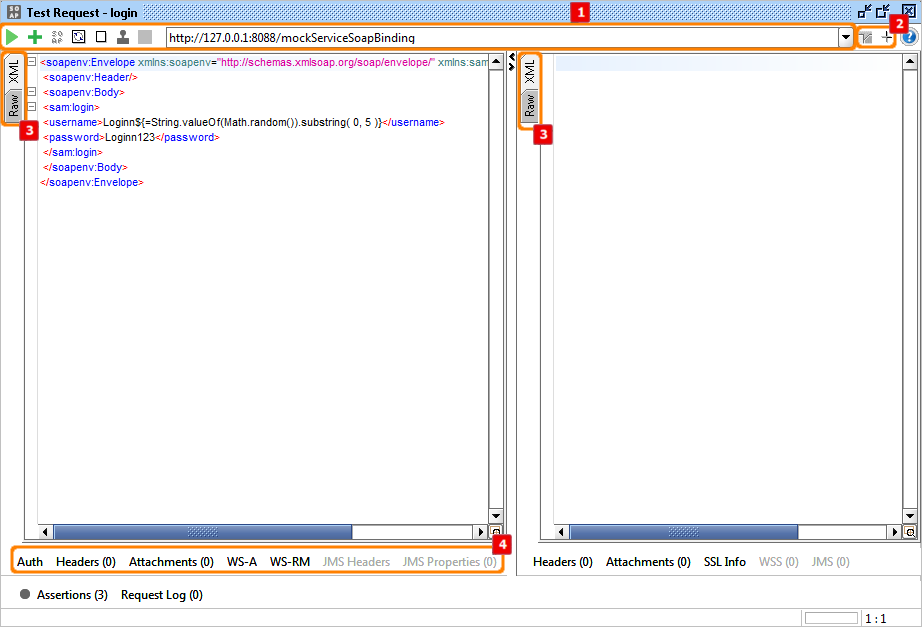
Vertically on the left side of each editor are tabs for each editor view (see  of figure above). The 'XML' source view is always available, as is the 'Raw' source view. ReadyAPI also adds the following addition views:
An Outline Editor - for both request and response messages.
A Form Editor - for easier editing of request messages.
An Overview View - for easier inspection of response messages.
The following inspectors are available at the bottom of each message editor.
HTTP Headers - shows the request/response HTTP Header editor/viewer.
Attachments - show the associated request/response Attachments editor.
SSL Info (Response only) - shows detailed response SSL Details for the current response.
WS-A - shows WS-Addressing header properties.
In ReadyAPI, the bottom right corner (under the scrollbar) contains a button to show a panorama view of the current editor view, allowing easier navigation around large/complex messages/views (available in all editor views, see screenshot to the right).
Inspectors
Below are explanation of each inspector (see  of figure above):
Auth - allow us to use the WS-Security setting set in the WS-Security Tab in the Project viewer.
HTTP Headers - displays the configured/received HTTP headers for the corresponding request/response message. For request message headers, buttons for adding/removing HTTP headers to be sent with the request are available from a toolbar below the table.
SSL Info - displays a list of certificates that were involved in negotiating the current message exchange, the following screenshot shows this information for a default request to the PayPal API.
WS-A - displays properties used for adding WS-A headers to a Request/MockResponse according to WS Addressing specification.
WS-RM - displays properties used for setting up and using a WS-RM Sequence for the request according to the WS Reliable Messaging specification.