In this guide you'll learn how to set up a test to be run from different environments, and run it. This feature is only available in standalone SoapUI Pro that has been superseded by ReadyAPI.
To try the new functionality, feel free to download a ReadyAPI trial.
1. Introduction
SoapUI, starting from version 4.5, supports a new concept of environments. Using environments you can easily switch between different sets of SOAP and REST services, properties and database connections.
2. Getting Started
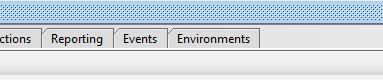
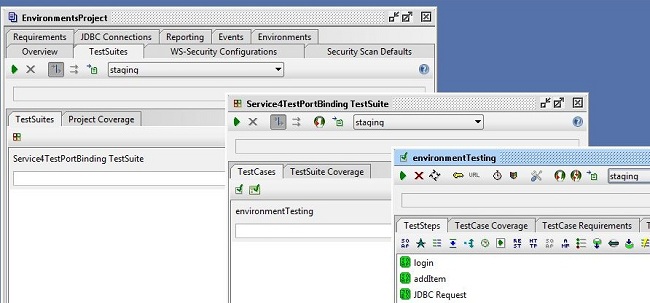
First, we’ll create new project using our WSDL. We can see environments tab in project panel:
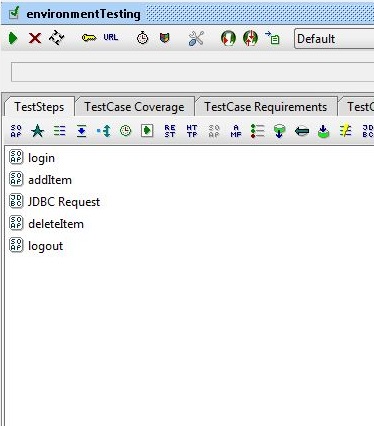
For purpose of showing off our new environments functionality, we have created test case which will log in to web service, add item using POST request, log out and finally use JDBC request to validate presence of item that was added to our database. Before logging out we will clean up and delete item. This is our test case:
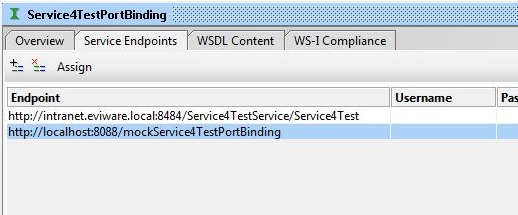
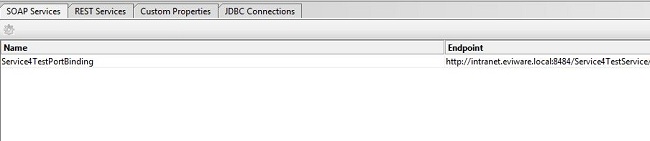
This project contains the following services:
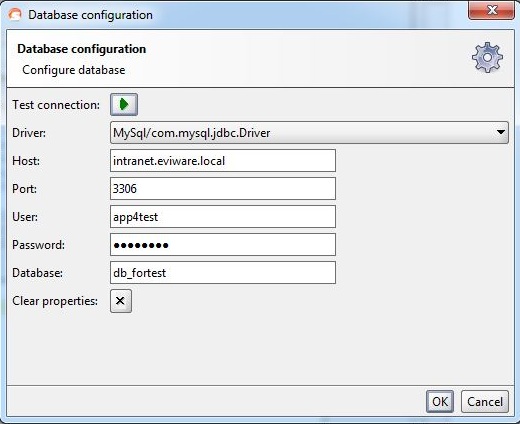
Also, we have database connection configured:
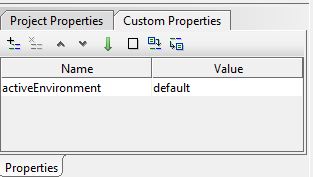
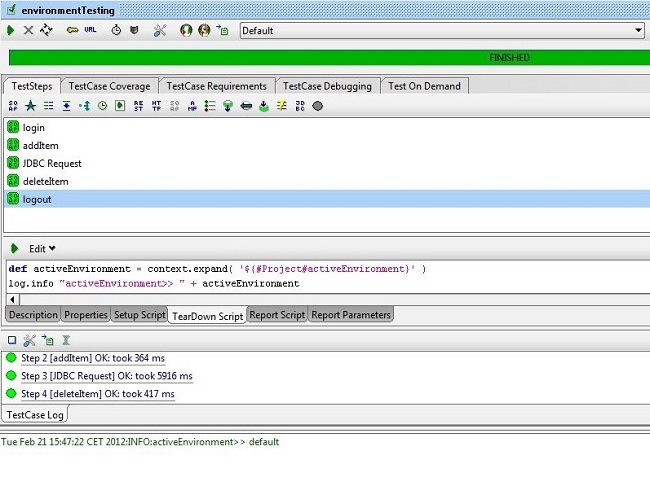
Finally, we have custom project property called “activeEnvironment” that I will use for logging purposes. I have set this value to “default” to illustrate the fact that environments are not activated yet.
3. Working with Environments
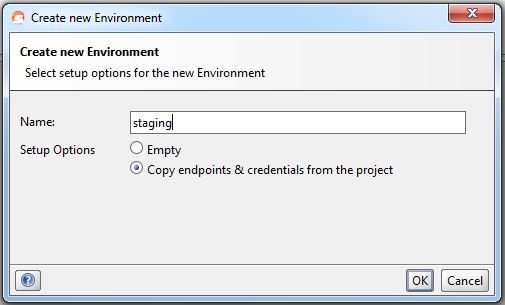
Now we can start adding environments. It is common to have following environments as tiers: “development”, “staging” and “production”. We’ll start by creating “staging” environment. We will also copy endpoint and credentials from project:
We can see list of environments:

In lower part of screen there are panels for SOAP and REST services, JDBC connections and custom properties, that we will be modifying in turn:


We’ll start configuring our environment by selecting "Edit service values" button (the gears icon):
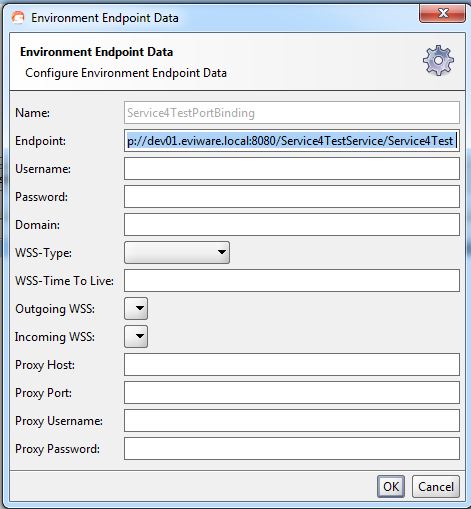
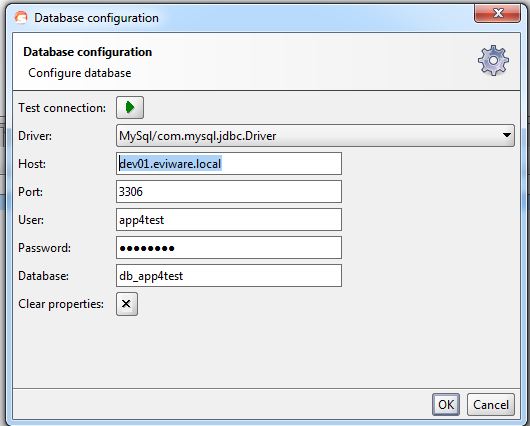
Only thing of interest here is new endpoint address. Also, we want to set up new database configuration:
And new property value:

We are all set now; our new environment is available to us via dropdown in Project (TestSuite tab), TestSuite and TestCase panels:
Let’s run our test case:
Changing environment is one click away:
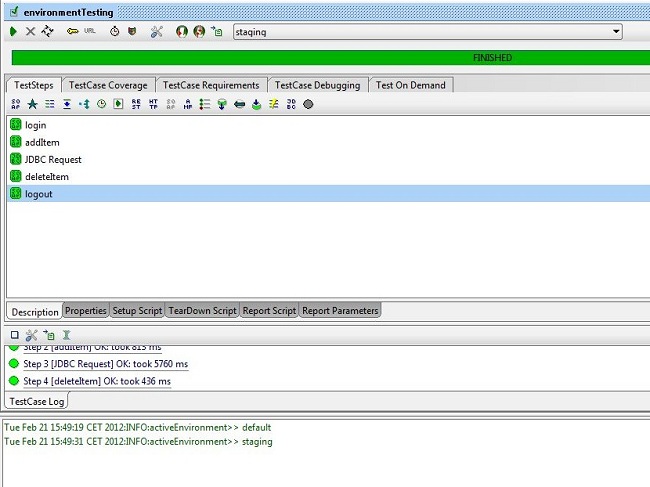
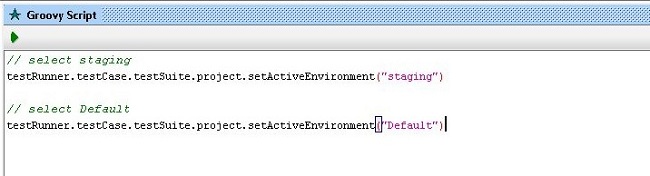
That’s it! After we’ve set up environment once, we can switch between “default” mode and all environments with ease. Next step would be setting “production” environment – we can have as many environments as we like. To enable any one, it’s enough to simply select if from dropdown box. soapUI will change services, properties and databases behind the scenes. Of course, environment can also be changed programmatically, using Groovy script and SoapUI API:
Try ReadyAPI for free!
Data driven testing is a ReadyAPI specific feature. By going Pro you get everything thats in SoapUI plus a bunch of productivity and time-saving enhancements. Download our 2-week free trial and try them out for yourself!