Just in like you can add functional assertions to certain TestSteps in a TestCase (to assert their results), you can add LoadTest assertions to a SoapUI LoadTest to validate both performance and functionality during the execution of the LoadTest. The configured assertions are continuously applied to LoadTest results and can fail the LoadTest just like their functional counterpart. This article will show you how.
You can also take your performance testing to the next level by using ReadyAPI. With this tool you can distribute your load testing on local and cloud instances, monitor your server resources as your API is put under varying loads, automate your tests with just a few clicks and create performance tests quickly with pre-configured load templates.
Download ReadyAPI and Start Performance Testing
In SoapUI the possibilities for asserting the performance and underlying functionality (via the Step Status assertion) are many. Finding the right mix is not easy since LoadTest results are extremely dependent on external factors (especially at high loads); networks, disk activity, database backups, etc. Therefore, we recommend creating assertions as a "safety net" for your LoadTest to detect if something goes really wrong instead of expecting the same throughput in all situations. For example if you have a step that usually takes around 300ms and you want to automate the execution of the LoadTest, you could create a "TestStep Average" assertion at around 900ms, which gives a lot of breathing space. Alternatively you could set the level rather low (400ms) but the minimum-errors setting (which controls how many times the assertion can fail before the LoadTest fails) to a rather high value (100).
Now let's dive in!
2. Accessing Assertions
Access the assertions for your LoadTest from the Assertions tab at the bottom of the LoadTest window:
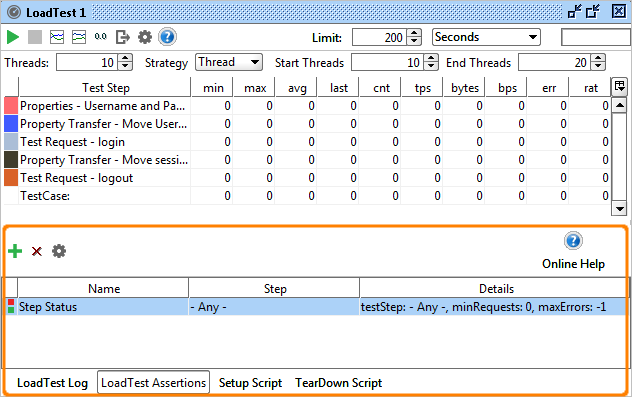
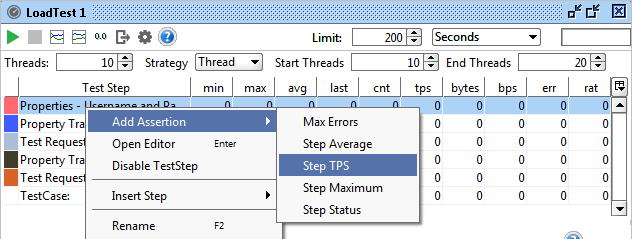
Here you can add and configure as many assertions as desired using the toolbar button, assertions can also be added by right-clicking in the Statistics table on the step you want to assert and selecting the desired assertion:
Double-clicking an assertion opens the corresponding configuration-panel, allowing you to set its configuration as desired.
3. Available Assertions
As you can see on the above screenshot SoapUI provides 5 assertions for validating the ongoing performance of you services. These all have the following configuration settings in common:
- Name - the name of the LoadTest Assertion.
- Minumum Requests - this is the minimum number the target testStep or testCase must have been executed before the assertion is applied. The usage is to let the steps or TestCase run a number of times to "get warm" before being measured.
- Max Errors (not available for Max Errors assertion)- this is the maximum number of failures that are allowed before the LoadTest failes. The usage is to allow a certain number of assertion failures before deciding the LoadTest should fail. Setting this value to "-1" will never fail the LoadTest, allowing you to record errors in the LoadTest log for later analysis.
- TestStep - the target TestStep, all TestSteps or TestCase the assertion should be applied to.
The available assertions then have specific configuration options as follows:
- Step Average - asserts that the average value of a TestStep or the entire TestCase doesn't exceed the specified limit. The "Max Average" setting is not surprisingly the maximum average value that is allows for the target item. The "Sample Interval" specifies how often the assertion should be applied; the rationale for this is that the average is usually a "slow-moving" statistic whose values should be asserted over time instead of one-by-one.
- Step TPS asserts the TPS (transaction per second) value for the corresponding TestStep or TestCase. Here the "Minimum TPS" value specifies the desired TPS we want to assert, failing if the target TestStep or TestCase does not achieve the desired throughput.
- Step Maximum - Asserts the max value for the corresponding TestStep or TestCase, going over the specified "Max Time" limit fails the assertion.
- Step Status - check that the underlying execution status of the TestStep or TestCase is successful, otherwise the assertion fails.
- Max Errors - check that the number of failures for the corresponding TestStep or TestCase does not exceed the configured "Max Absolute Errors" and/or "Max Relative Errors" value. The errors counted are those generated by previously failed LoadTest assertions, for example you might have both Average, TPS and Maximum assertions configured for a TestStep and want them in total to never fail more than 100 times, or 1% of all executions. In this case set the Absolute value to 100 and relative to 0.01. This is often combined with setting the other assertions' "Max Errors" value to -1, delegating the actual failing of the LoadTest to this assertion instead of them.
4. Viewing Assertion Errors
When running your LoadTest, assertion failures are shown in the LoadTest Log as they occur:
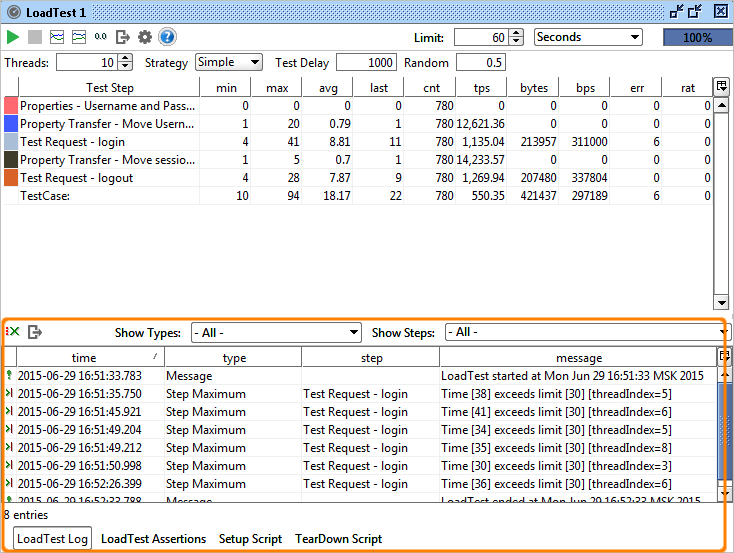
The toolbar has combo-boxes for filtering which message to display (if there are errors in abundance) and also contains a button for exporting the log to a comma-separated file.
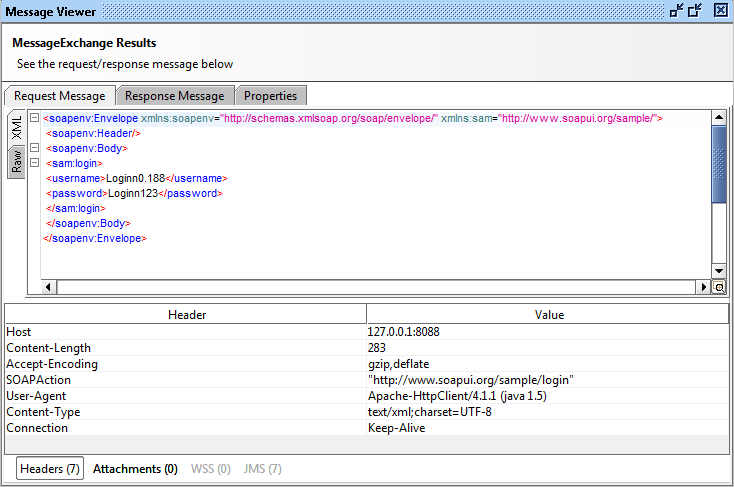
Double-clicking an entry opens the corresponding result for the underlying TestStep, allowing you to "debug" the failed message exchange (if applicable), for example double-clicking the first error in the log above shows.