This page contains information on standalone SoapUI Pro that has been replaced with ReadyAPI.
To try enhanced security testing functionality, feel free to download a ReadyAPI trial from our website.
Security Scans are what soapUI uses to identify potential security vulnerabilities in your target services. Each scan sends a number of malicious requests to your service to try to provoke and identify a behavior that could indicate a security vulnerability that needs to be handled.
The following Security Scans are currently available (click on the name for a dedicated page)
- SQL Injection : tries to exploit bad database integration coding
- XPath Injection : tries to exploit bad XML processing inside your target service
- Boundary Scan : tries to exploit bad handling of values that are outside of defined ranges
- Invalid Types : tries to exploit handling of invalid input data
- Malformed XML : tries to exploit bad handling of invalid XML on your server or in your service
- XML Bomb : tries to exploit bad handling of malicious XML request (be careful)
- Malicious Attachment : tries to exploit bad handling of attached files
- Cross Site Scripting : tries to find cross-site scripting vulnerabilities
- Custom Script : allows you to use a script for generating custom parameter fuzzing values
1. Adding Security Scans
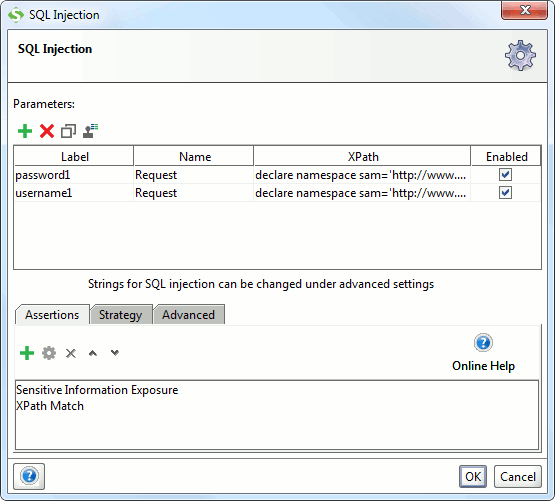
Add a Security Scan to a TestStep in your Security Tests either with the “Add SecurityScan” button or the corresponding TestStep right-click menu option in the Security Test window. You will first be prompted for which type of Security Scan to add (differs based on the underlying TestStep) and then open the corresponding Security Scan configuration window:
(You can open this for an existing Scan by double-clicking it in the Security Test window).
This dialog has a similar layout for all Security Scans: the top of the dialog usually contains a table for defining which parameters in the request to use for test testing (see below). In the middle there is an area for Security Scan specific configuration components (not used in the above screenshot), and at the bottom there are a number of tabs for further configuration:
- Assertions : the assertions used to validate and check the response for any signs of a successful security exploit
- Strategy : settings related to how multiple parameters should be permutated against each other (see below)
- Advanced : settings specific for the Security Scan (if applicable)
The table of parameters, assertion tab and strategy tab are common for most Security Scans, let’s have a look at them in more detail.
2. Security Scan Parameters
Most Security Scans require you define which content of the underlying request you want to use as placeholders for the corresponding scan, for example for a SOAP request you might have a message as follows:
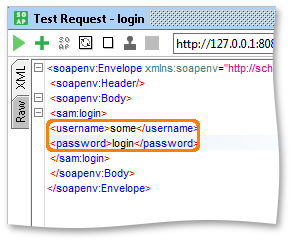
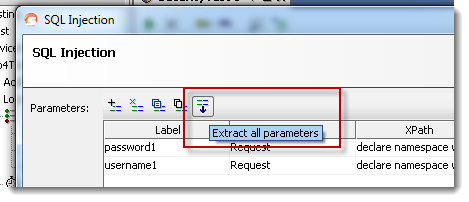
When performing for example a SQL Injection scan with this request, you would want to send the malicious SQL statements in both the username and password fields, which would require you to define these two as parameters in the table. In the Pro version, this is easiest achieved by pressing the “Extract Parameters” button on the top of the table itself, which will search all available properties in the request and automatically add them to the table if they contain a value:
Alternatively you can use the “Add Parameter” button which will open a dialog for specifying the Parameter manually:
Here you need to specify the following:
- The underlying Test Property that contains the parameter value (for example Request for SOAP requests)
- A unique label for the parameter
- An optional XPath statement specifying where in the Test Property value to find the parameter
- This is for properties containing XML values, for example for REST or HTTP parameters, you would (probably) leave this field blank
For HTTP or REST requests, all defined request parameters are available as Test Properties, and if any of them contain XML you can further refine how that should be mutated as described with the XPath configuration above.
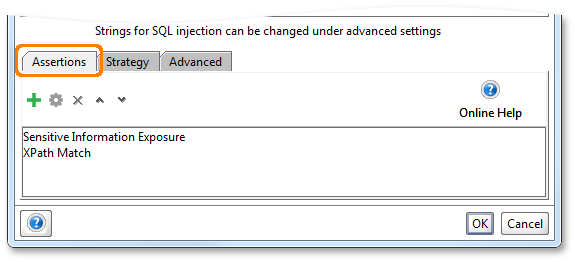
3. Security Scan Assertions
Assertions are used to assess if the responses for the Security Scan requests contain some kind of content that indicates if the target system has a corresponding vulnerability. The mechanism is the same as for standard Test Requests; use the table in the assertions tab to specify which assertion to use and their configuration:
Selecting the right assertions is not always trivial; how do you want your system to behave when under attack? Should it return an error or just ignore the attack? Maybe a SQL Injection attack would be “successful” if it managed to provoke the expected behavior for valid input (thus fooling the system) – an adequate assertion would in that case perhaps be to check that the response does not contain what would otherwise be expected.
All the standard assertions are available, but also a number of new ones have been added specifically for this purpose (see below).
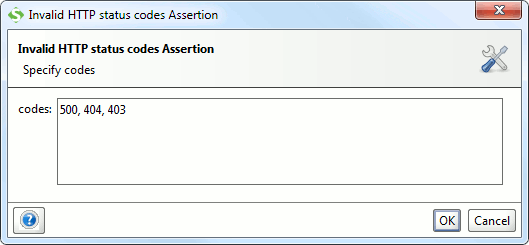
3.1. Invalid HTTP Codes
Allows you to specify a comma-separated list of HTTP status codes that should not be returned by the target service
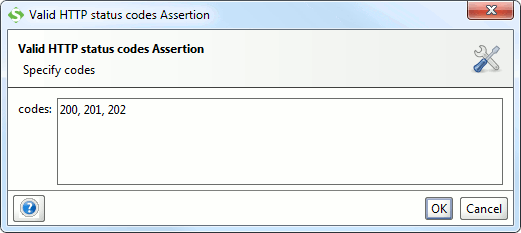
3.2. Valid HTTP Codes
Allows you to specify a comma-separated list of HTTP status codes that should be returned
Checks the response for content that reveals system information which could be used by hackers to further exploit any existing vulnerabilities, for example if the response gives away which database version that is being used (in an error message), hackers could use this information to try to exploit known security issues with that database.
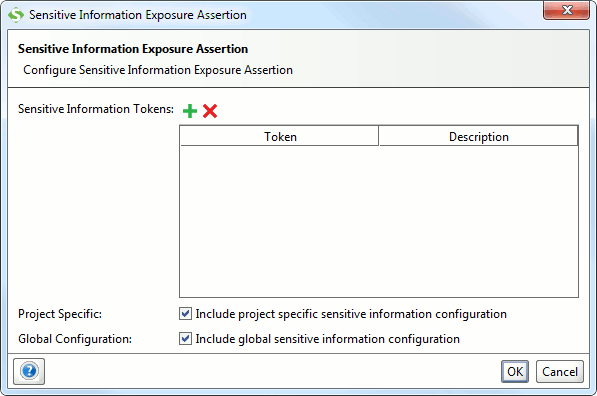
As you can see, the default configuration fo this assertion can be specified at both the global and project level, so if you want to add any custom tokens to be used in the search it can be done either specifically for the containing Security Scan or at a higher level. The default list provided with soapUI is visible in the Global Preferences under the “Global Sensitive Information Tokens” tab:
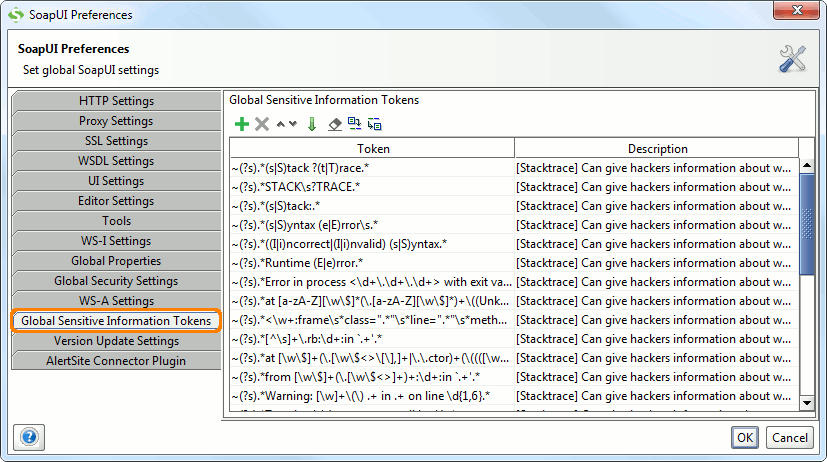
The table has two columns:
- The token itself can either contain a plain string or a regular expression prefixed with a tilde sign (to separate it from a plain string)
- A description that will be shown in the Security Log if the corresponding token is found
3.4. Cross Site Scripting Assertion
This assertion is available only for the Cross Site Scripting Scan and automatically added as well, it checks the response for the same injection strings that were sent with the parameter (read more) and also allows you to specify a script that populates a list of URLs to check separately for the send XSS tokens:
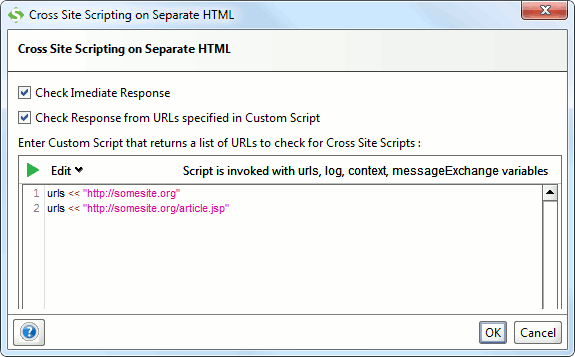
The script alternative is useful if you for example are posting data into a system via a REST or SOAP interface where the immediate response is never viewed in a browser, but a separate page might make the posted data available to end users – this page should then be checked for an eventual XSS vulnerability.
4. Strategy
The strategy tab allows you to specify how multiple parameters are to be permutated and executed during the execution of the Security Scan:
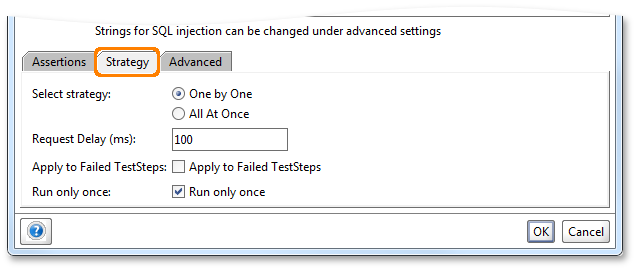
There are currently two modes of execution:
- “One by One” – mutates one parameter at a time; if you for example have three parameters defined and the Security Scan has 20 values to send for each, the number of total requests will be 60 – each request containing one mutation for only one parameter, the other parameters are left as in the original request
- “All at once” – mutates all parameters at the same time; in the above example this would result in 20 requests in total.
The “Request Delay” setting allows you to specify a delay between multiple mutated requests so the Security Scan doesn’t overload your server, and the “Apply to Failed TestSteps” option allows you to control if the Security Scan should be applied even if the underlying functional TestStep fails its assertions – by default this is disabled as it might not make sense.
5. Execution
When a Security Scan is run as part of the containing Security Test, it sends the different mutation requests as configured, mutating the defined parameters for each request. The Security Log shows specifically which values were sent for each parameter and request, together with any assertion failures:
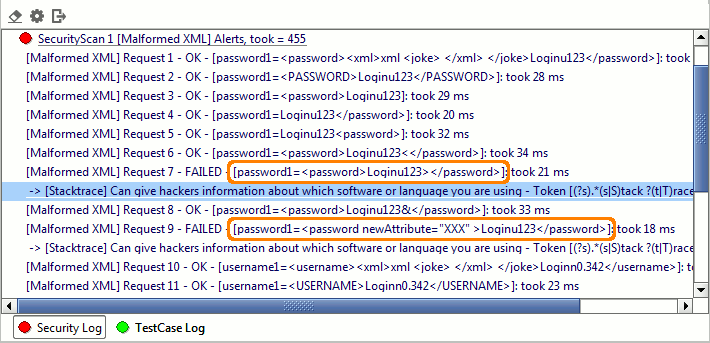
Double-clicking an entry will open the standard message viewer allowing you to see the actual request sent and response received for further analysis, for example the failed Malformed XML request above shows the following response message:
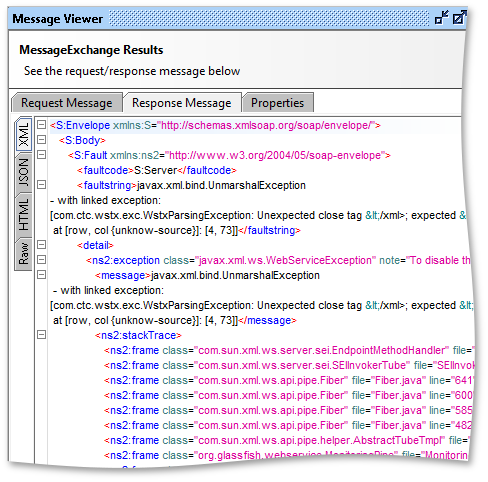
Here we can see the response contains a stacktrace giving away a number of details on what software the server using, which could be an entry point for exploiting known issues with that server setup.