In SoapUI, you create load tests on the base of existing functional tests. This helps you quickly and easily create performance tests for your web service. You can then validate the web service performance using different load strategies, check that its functionality does not break under load, run several load tests simultaneously to see how they affect each other, and much more.
You can also take your performance testing to the next level by using the next generation ReadyAPI (part the ReadyAPI application suite). With this tool you can simulate the load from local and cloud machines, monitor your server and database resources, create performance tests quickly from pre-configured templates, and automate your tests with a few clicks.
Let's move on to the tutorial. What we are going to learn is the following:
- Create a new LoadTest
- Run the LoadTest
- Add Assertions to the LoadTest
- Run your LoadTest in ReadyAPI
1. Create a new LoadTest
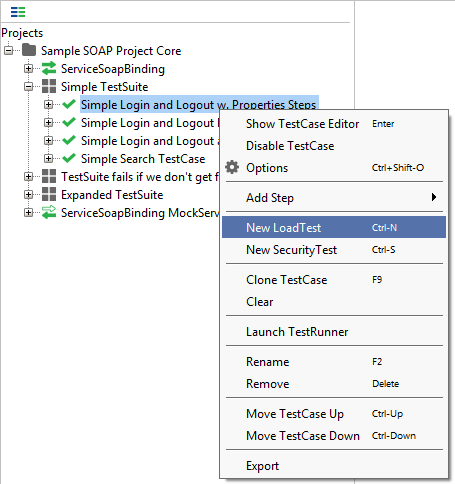
- In the Navigator panel, right-click your TestCase and select New LoadTest from the context menu:
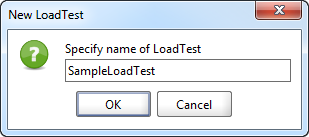
- In the subsequent dialog, enter the test name and click OK:
The LoadTest editor will open. Let's now configure and run the created test.
2. Run the LoadTest
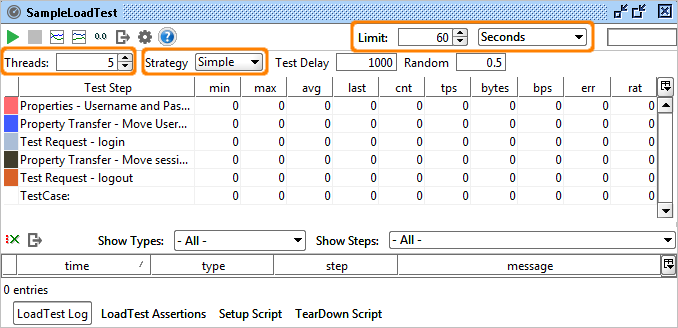
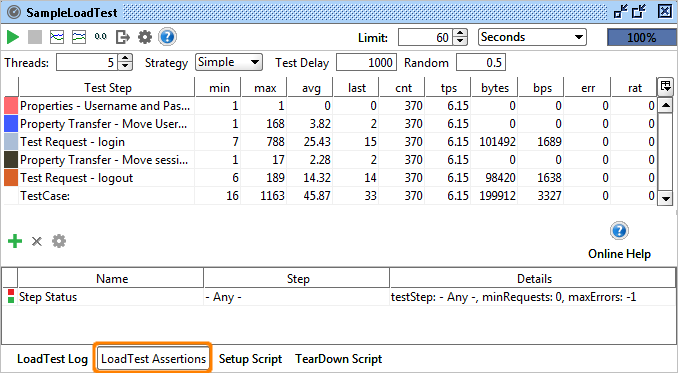
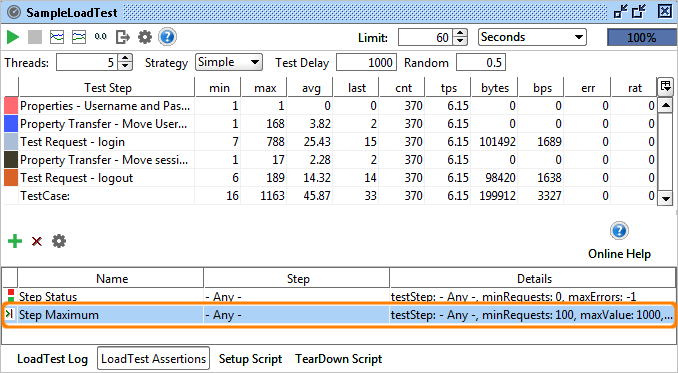
When a new LoadTest is created, it is pre-configured to run for 60 seconds with 5 threads using the Simple load strategy (see the image below).
- Modify the test properties (read more about this).
- Click
 Run on the editor toolbar to start the test.
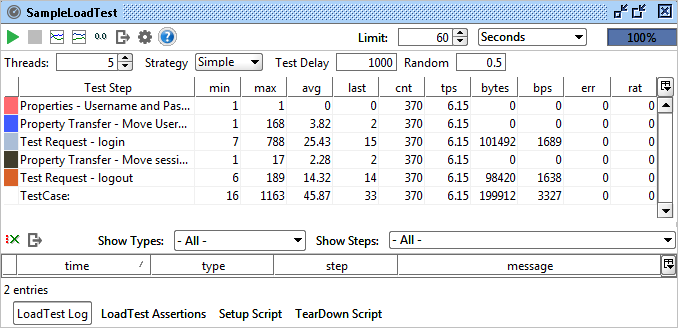
SoapUI will track the execute, collect statistics and update the table that you see in the editor (read more on test execution).
In 60 seconds, the test will finish and you will see the results:
We have now successfully run our first LoadTest. Let's now add an assertion to validate the results.
3. Add an assertion to the LoadTest
- In the LoadTest editor, switch to the LoadTest Assertion tab:
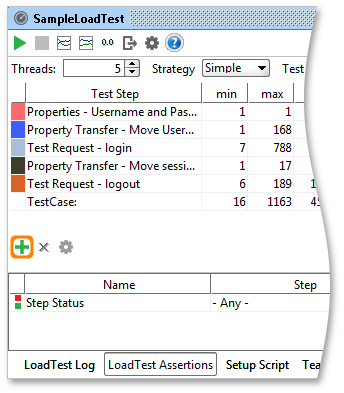
- Click
 Add Assertion button in the LoadTest Assertion menu bar to add a new assertion:
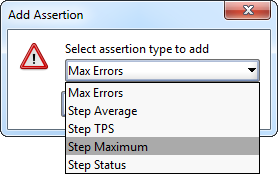
- In the subsequent dialog, select the assertion type to add. Let's choose Step Maximum. This assertion sets the maximum allowed response time. If some request is executed longer, the test will fail. This is a good way to establish and check some SLA for your web service. Click OK:
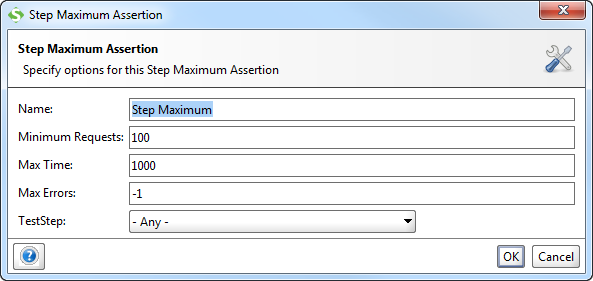
- SoapUI will display the dialog box, where you can specify the assertion properties. Enter the maximum response time in the Max Time edit box. By default, it has 1000 milliseconds (that is, 1 second). Let's keep the default value and click OK:
- The Step Maximum assertion is now added to the test:
-
Now run the test again. If some responces will work longer than 1 second, you will see numbers in the err column. This indicates that your test fails.

4. Run your LoadTest in ReadyAPI
You can open the test project you created in ReadyAPI. The latter will import your project and all tests in it automatically. You can then use all the Pro features like distributed and cloud testing, server monitors, specific load testing assertions, and more.
Learn more about load testing: