Once you've downloaded the installer, the installation is pretty straightforward. Start it by just double-clicking on it. The installer will start immediately.
You'll soon see the starting screen.
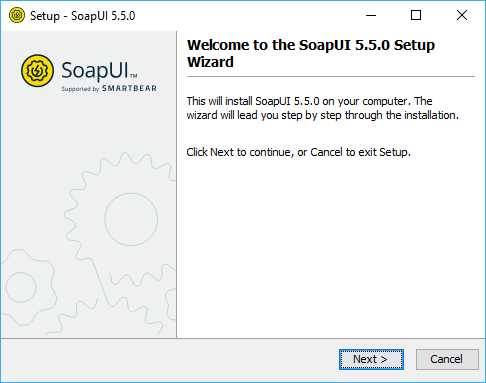
Click Next to continue.
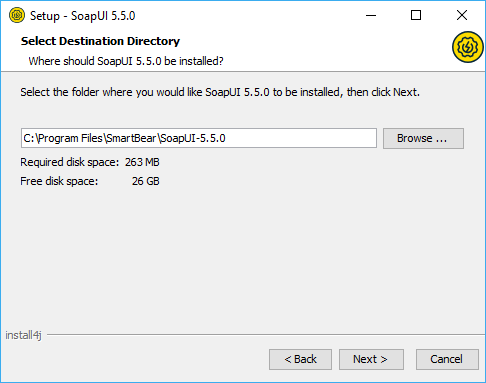
Select the destination folder, which by default is set to C:\Program Files\SmartBear\SoapUI-5.5.0.
Next step gives you the opportunity to include, as additional components, SoapUI source files, HermesJMS installation and tutorials.
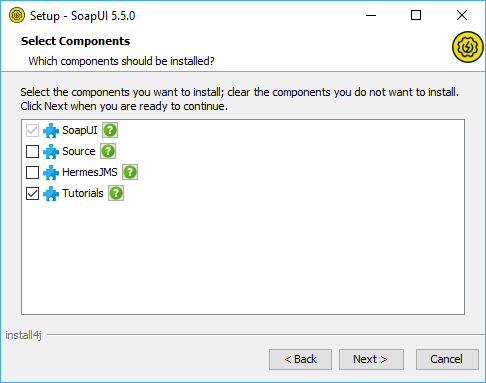
Note: If you choose to install HermesJMS, you will have to accept the HermesJMS license agreement.
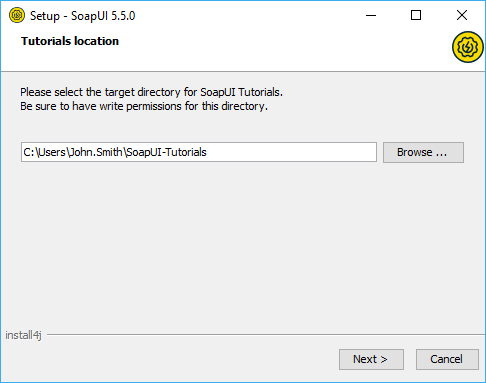
If you choose to install SoapUI tutorials, specify the directory to which you want to install them.
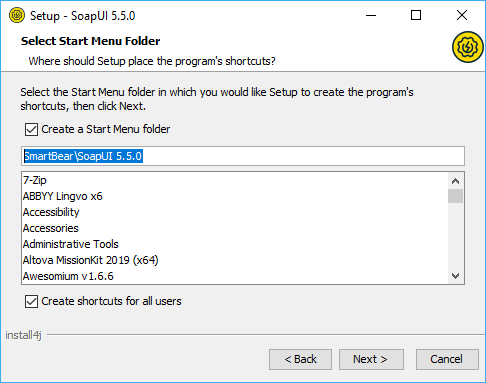
Then, you'll be able to select the Start Menu folder where you want the soapUI shortcut to be added
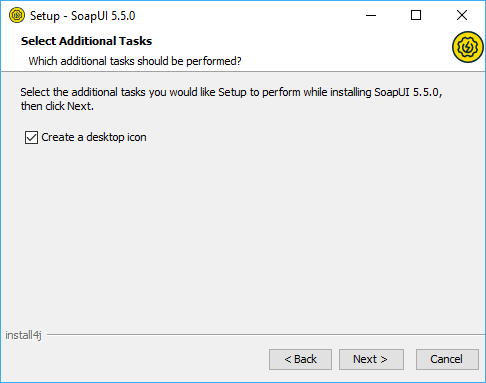
and whether you would like desktop icon added.
Finally, by clicking Next, the installation starts.
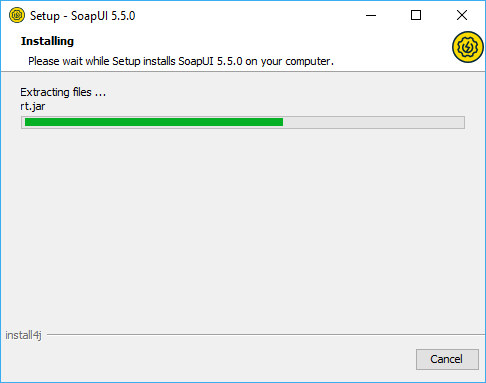
After couple of minutes at most, the installation should be finished and you should see the next screen.
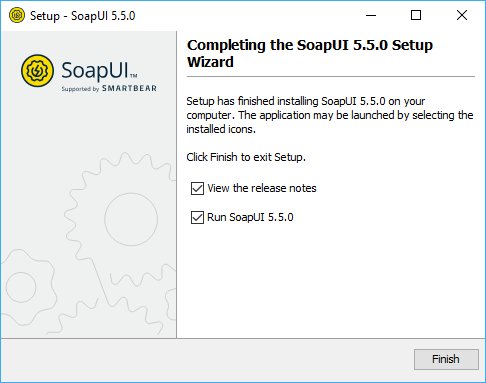
Now you are ready to use soapUI. Good luck!
Back to Top